
10 Cute Accessories Ideas to Upgrade Your Style
Discover cute accessories ideas to elevate your everyday outfits. From jewelry and handbags to hair accessories and stylish details, these […]
Discover cute accessories ideas to elevate your everyday outfits. From jewelry and handbags to hair accessories and stylish details, these […]

Transform your home with these modern wall decor ideas. Discover stylish, creative, and trending wall decoration designs to make your
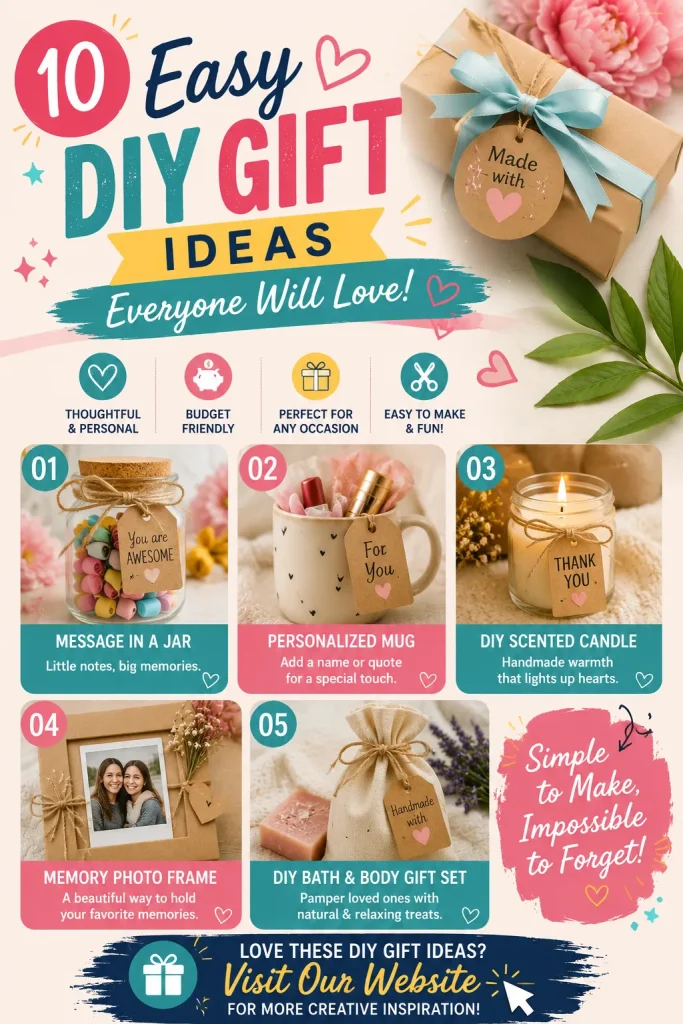
Discover the best easy DIY gift ideas that are thoughtful, creative, and budget-friendly. Make handmade gifts for birthdays, holidays, and

Discover the best summer hairstyles ideas that are stylish, easy, and perfect for hot days. Explore trendy summer hair looks
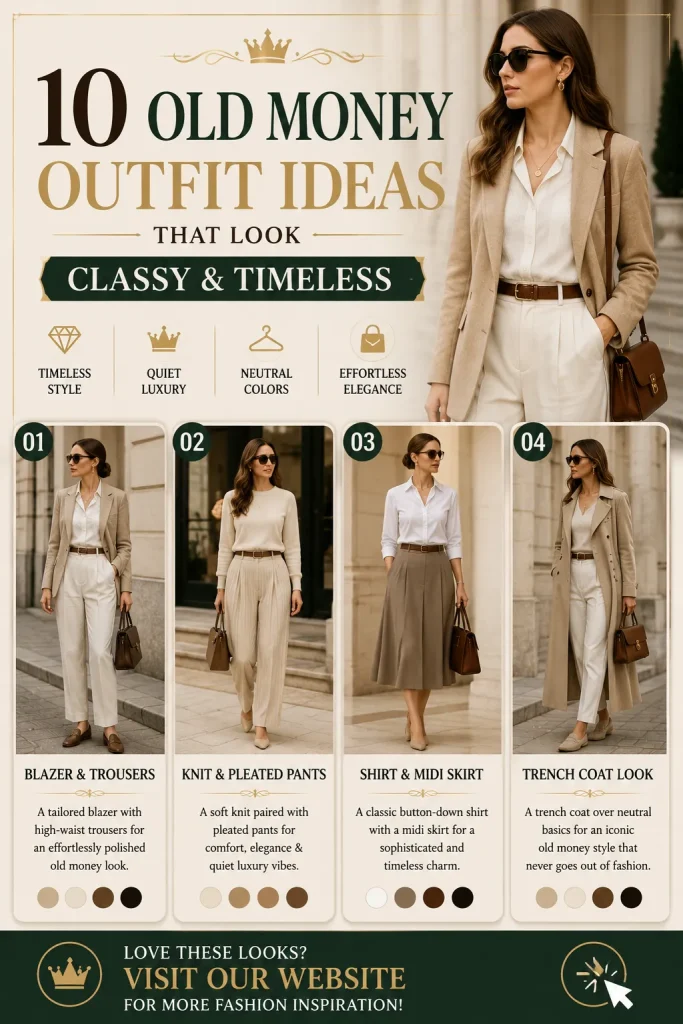
Discover the best old money outfit ideas that look elegant, classy, and timeless. Explore luxury-inspired fashion looks with neutral colors,

Create a warm and relaxing bedroom with these cozy bedroom decor ideas. Discover trending designs, modern styling tips, and aesthetic

Get ready to shine! Discover the top 10 hair styles ideas for saree farewell parties, from elegant buns to modern
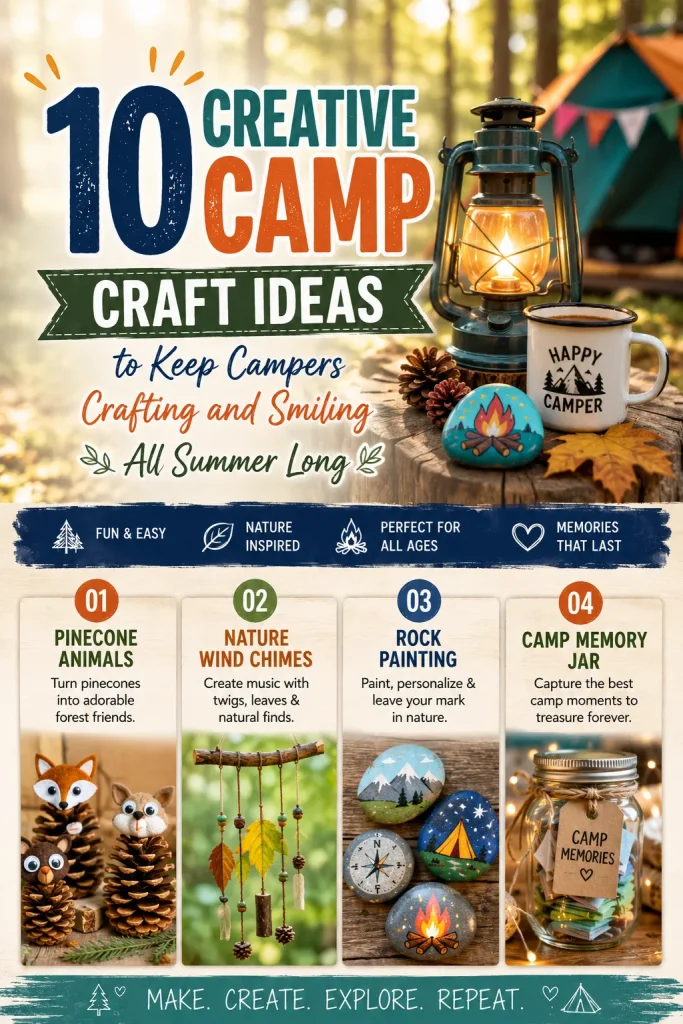
Discover 10 unique camp craft ideas perfect for kids and adults. From nature art to classic camp keepsakes, elevate your

Discover 10 unique homemade gifts that are thoughtful, budget-friendly, and perfect for any occasion. Craft the ultimate personalized DIY present
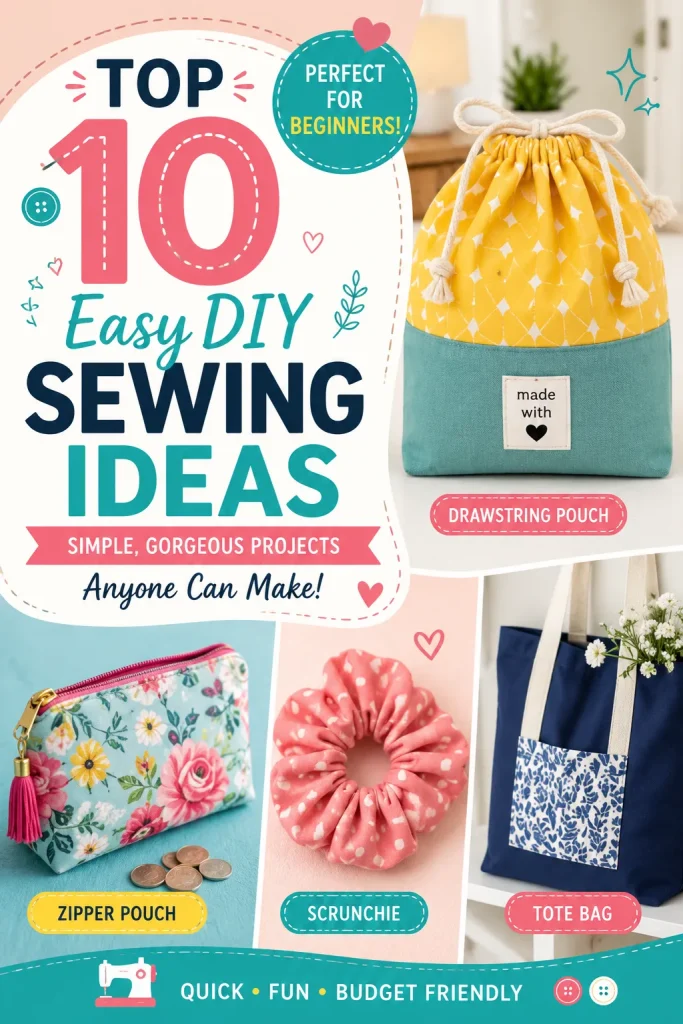
Discover 10 easy DIY sewing ideas perfect for beginners. Create gorgeous tote bags, scrunchies, and home decor with step-by-step guides