Discover 10 easy DIY sewing ideas perfect for beginners. Create gorgeous tote bags, scrunchies, and home decor with step-by-step guides and expert tips.
Have you ever stared at a beautiful piece of fabric and wished you could transform it into something functional, stylish, or uniquely yours? Or perhaps you have a brand-new sewing machine sitting in its box, intimidating you with its dials, threads, and foot pedals. Stepping into the world of crafting can feel incredibly overwhelming. Many beginners assume that to create something beautiful, they need years of master-level tailoring experience or complicated, multi-page paper patterns.
The truth is, you don’t need to know how to draft a tailored blazer or construct a formal gown to call yourself a creator. Sewing is a superpower that builds up one tiny victory at a time. The secret to mastering the craft without losing your patience lies in choosing projects that offer maximum reward with minimal complexity.
By diving into these easy DIY sewing ideas, you can clear out your scrap fabric bins, save money on home decor, and create personalized gifts that your loved ones will actually want to use. This curated list focuses on beginner-friendly, straightforward crafts designed to build your machine confidence, teach you fundamental techniques, and deliver gorgeous, usable results. Let’s dust off your sewing machine and unlock your creative potential!
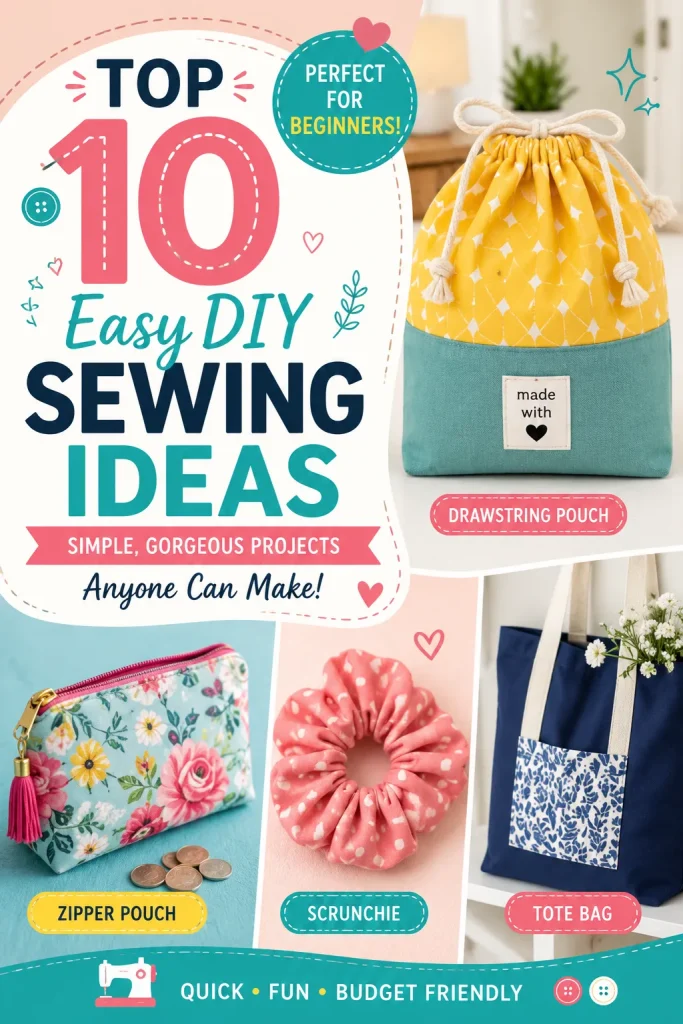
Why Starting with Simple Sewing Projects Matters
When you are first learning to sew, momentum is everything. Jumping straight into a project with zippers, buttons, and intricate lining pieces is a fast track to frustration. Selecting straightforward, linear patterns sets you up for long-term success.
- Builds Muscle Memory: Handling fabric, guiding it under the presser foot, and maintaining a consistent seam allowance are physical skills. Simple projects let you practice these movements without distraction.
- Instant Gratification: There is nothing quite like the dopamine hit of finishing a project in under an hour. Quick wins build the confidence you need to take on more complex designs down the road.
- Low Financial Risk: Beginner crafts require very little yardage. If you accidentally cut a piece upside down or make an unfixable mistake, you haven’t wasted expensive material. You can easily use remnants, fat quarters, or upcycled old clothing.
Top 10 Easy DIY Sewing Ideas for Beginners
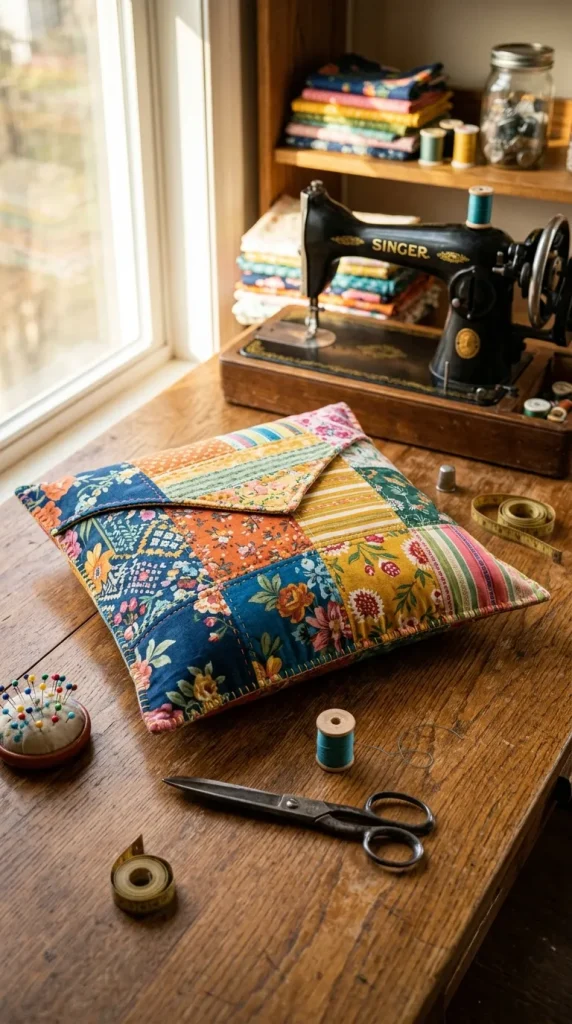
1. The Ultra-Simple Enclosure Pillow Cover
Forget about wrestling with tricky, hidden zippers or matching up tiny buttonholes. The envelope-style pillow cover is the absolute best entry point for a beginner. It relies entirely on straight lines and a clever overlapping back pane that allows you to slip a pillow form inside effortlessly.
- Description: A classic, clean-cut cushion cover made from a single long rectangle of fabric folded over itself to create a secure, zipper-free pocket closure at the back.
- Who It Suits Best: Absolute beginners who are threading a machine for the first time. It is a fantastic way to refresh your living room decor or personalize a bedroom on a tiny budget.
- Sewing Tips: Pressing your folds with a hot iron before you sew is non-negotiable here. Crisply ironed edges will prevent the overlapping fabric from shifting or gaping open when the pillow is stuffed inside.
- Benefits: Requires zero hardware, takes less than twenty minutes to complete, and teaches you the foundational art of pressing and folding hems cleanly.
2. The Classic Everyday Tote Bag
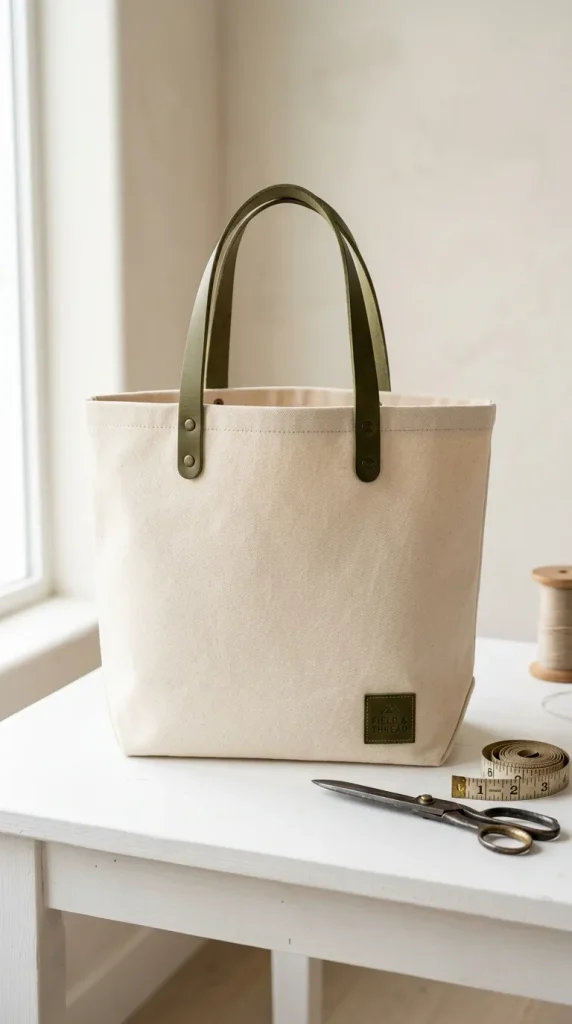
Stop buying disposable plastic bags and create a sturdy, reusable tote bag customized to your preferred size and shoulder length. This project introduces you to building structural depth and attaching functional handles.
- Description: A spacious, rectangular bag made from durable fabric like canvas, denim, or heavy cotton linen, featuring reinforced top-stitched fabric handles.
- Who It Suits Best: Anyone looking to practice sewing through multiple thick layers of fabric. It makes a wonderful, eco-friendly gift for friends who love book shopping, grocery runs, or beach days.
- Sewing Tips: To make your bag extra durable, box the bottom corners. Simply pinch the bottom seam and side seam together into a triangle, sew straight across, and trim the excess to give your tote a flat, structured base.
- Benefits: Highly practical for daily life, teaches you how to reinforce stress points with reverse-stitching, and acts as an open canvas for fun fabric prints.
3. The 10-Minute Elastic Scrunchie
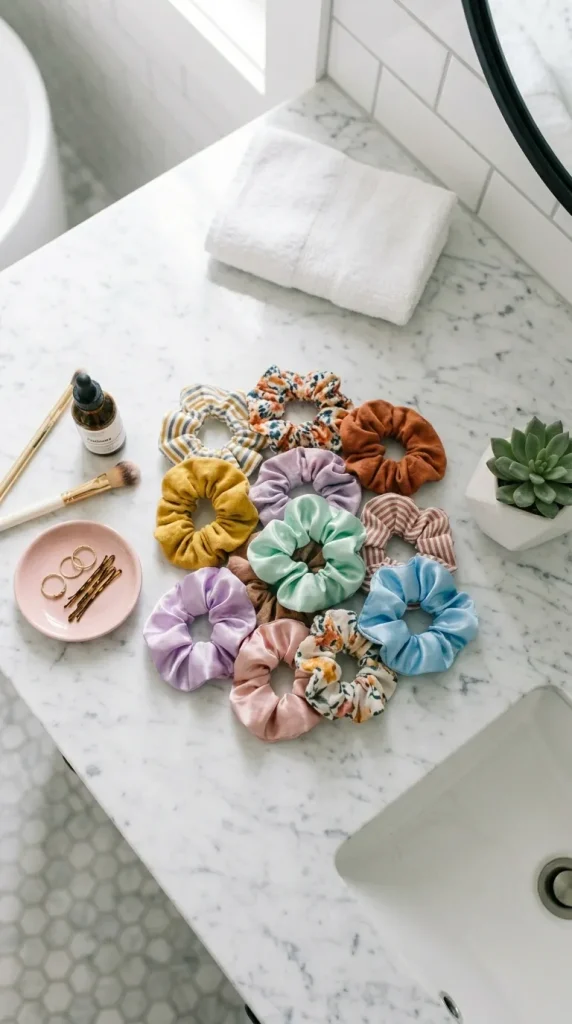
If you have a pile of tiny fabric scraps that are too small for a bag but too pretty to throw away, turning them into hair scrunchies is the ultimate zero-waste solution.
- Description: A fabric tube gathered tightly over a strip of elastic, closed seamlessly at the ends to form a gentle, hair-friendly elastic tie.
- Who It Suits Best: Crafters working with delicate, soft fabrics like satin, silk, or lightweight cotton. It is an ideal project for kids and teenagers learning how to use a machine safely.
- Sewing Tips: Use a safety pin attached to one end of your elastic to guide it easily through the fabric tube. Make sure to hold onto the opposite end of the elastic so it doesn’t accidentally slide entirely inside the tube and get lost.
- Benefits: Clears out your scrap bin instantly, takes less than ten minutes from start to finish, and serves as an excellent item to sell at local craft markets or gift to classmates.
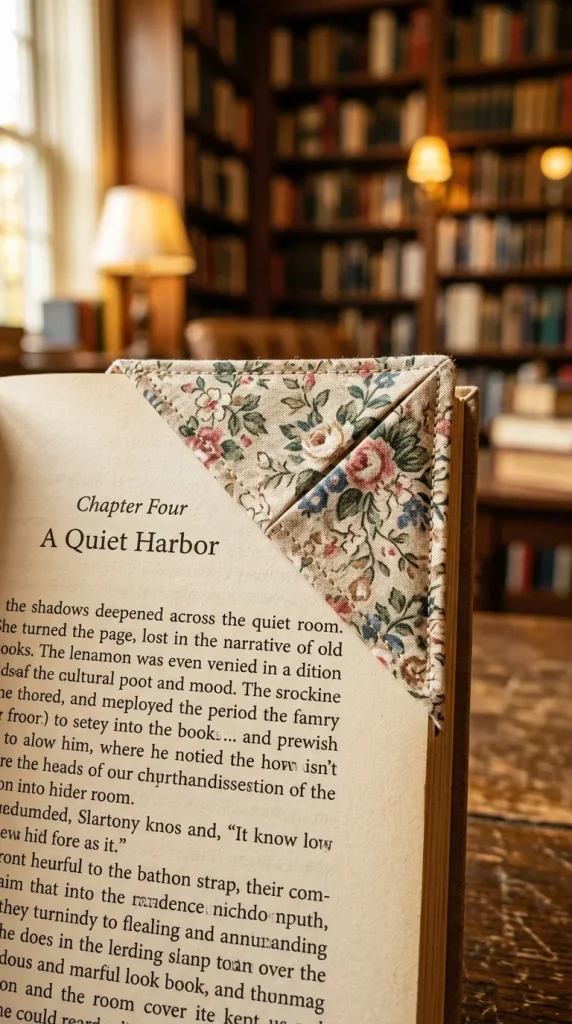
4. Fabric Corner Bookmarks
Avid readers can never have too many bookmarks. These simple fabric corners slip directly onto the edge of your page, staying securely in place without slipping out or bending your book.
- Description: A small, triangular pocket that slides snugly over the corner of any book page, usually made from contrasting fabric scraps and stabilized with interfacing.
- Who It Suits Best: Book lovers looking to practice precise topstitching and turning tight corners cleanly on small-scale projects.
- Sewing Tips: Slip a small piece of iron-on fusible interfacing inside the fabric layers before sewing. This adds crisp structure, ensuring the bookmark keeps its shape over years of use.
- Benefits: Exceptional for using up tiny textile remnants, completely customizable with holiday or floral patterns, and adds a thoughtful, personal touch to a gifted book.
5. Cozy Reusable Bowl Cozies
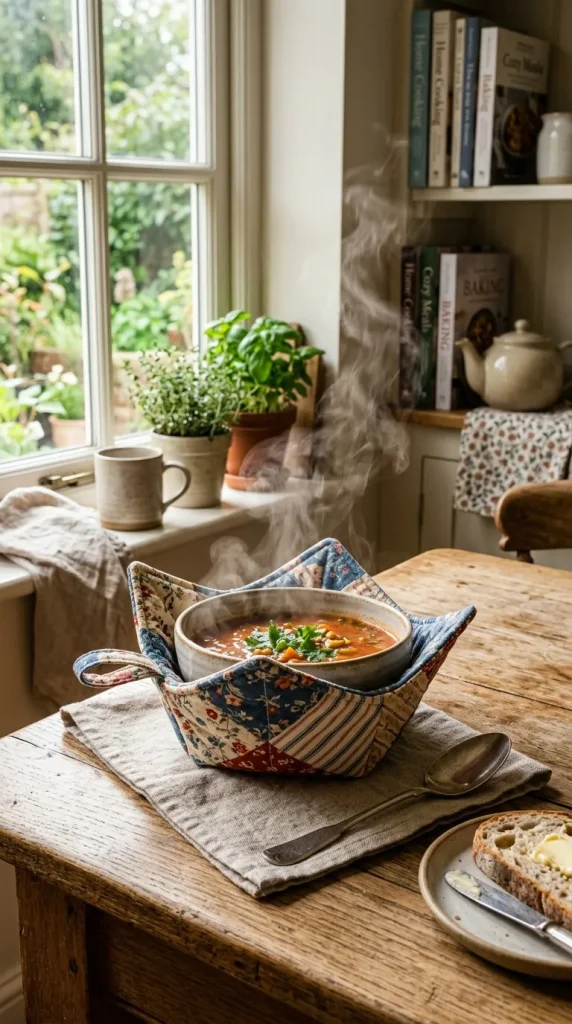
Tired of burning your fingers when pulling a hot bowl of soup out of the microwave? A fabric bowl cozy cradles your dishes perfectly, acting like a stylish oven mitt that stays on your bowl while you eat.
- Description: A quilted, bowl-shaped fabric holder with darted corners that wrap around hot ceramic dishes, insulating your hands from extreme heat.
- Who It Suits Best: Home cooks and students who love convenience. This project introduces the basic mechanics of sewing darts to create three-dimensional shapes.
- Sewing Tips: Crucial Safety Warning: You must use 100% cotton fabric, 100% cotton thread, and 100% cotton batting. Synthetic materials like polyester can melt, spark, or catch fire inside a microwave.
- Benefits: Fully machine washable, protects delicate tabletops from heat damage, and makes an incredibly unique housewarming or holiday gift.
6. Drawstring Gift Bags and Pouches
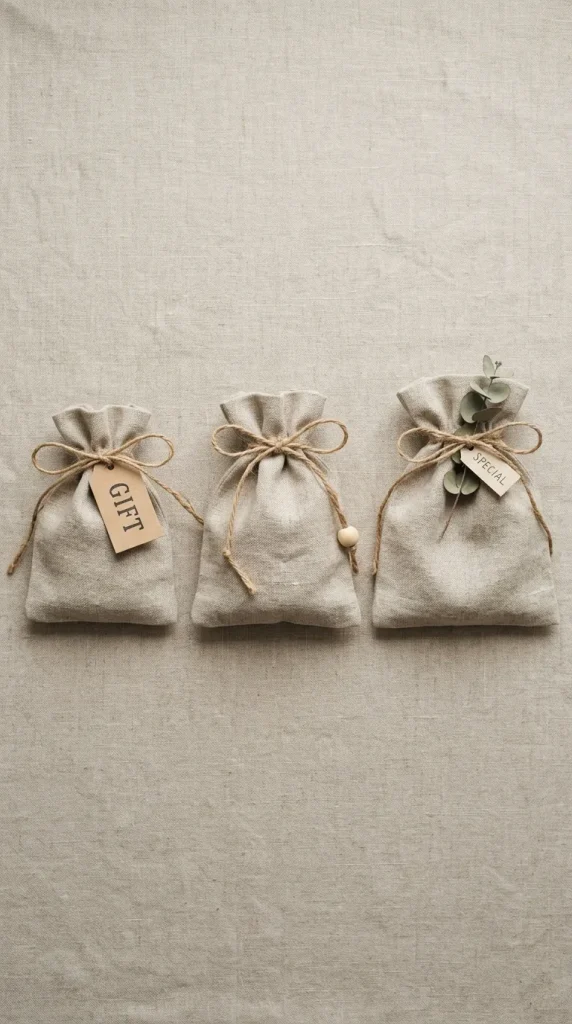
Wrap your gifts sustainably or organize your travel suitcase with customized drawstring pouches. This project teaches you how to construct a functional casing to hold cords or ribbons.
- Description: A versatile pouch with a hollow channel sewn around the top rim, allowing a ribbon or cord to be pulled tight to secure the contents inside.
- Who It Suits Best: Travelers looking to organize jewelry, makeup, or shoes, and eco-conscious individuals looking to replace single-use paper gift wrap.
- Sewing Tips: Leave a small, unstitched opening in your side seam right where your top channel meets. This gives your drawstring a clean, fray-free exit point to loop through.
- Benefits: Eliminates paper waste entirely during the holidays, easily scales to any size from tiny jewelry pouches to large laundry bags, and introduces the concept of structural channels.
7. Absorbent Fabric Coasters
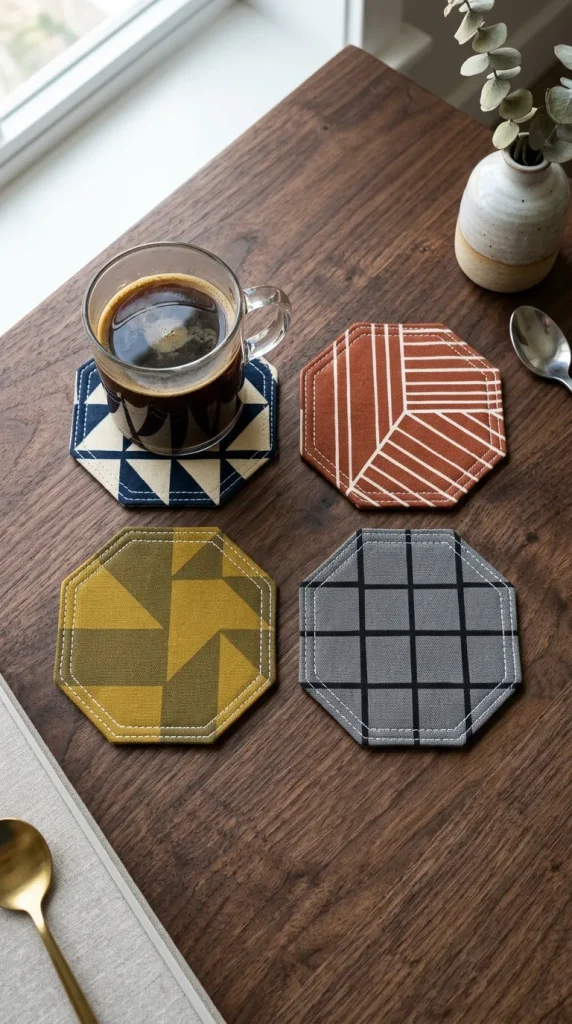
Protect your wooden coffee tables in style. Making coasters allows you to play with pattern matching and color blocking while practicing the foundational “turn and topstitch” method used across structural sewing.
- Description: Square or circular multi-layered fabric mats lined with an inner layer of flannel or fleece to catch condensation and spills from hot or cold drinks.
- Who It Suits Best: Minimalists looking for a quick, rewarding afternoon craft. It is a fantastic way to practice sewing uniform geometric edges.
- Sewing Tips: Clip your corners diagonally before turning the coaster right-side out. Removing that tiny triangle of bulk from the inside ensures your finished coaster corners are perfectly sharp rather than lumpy and rounded.
- Benefits: Incredibly low fabric requirements, easy to wash, and lets you experiment with decorative machine stitches along the outer border.
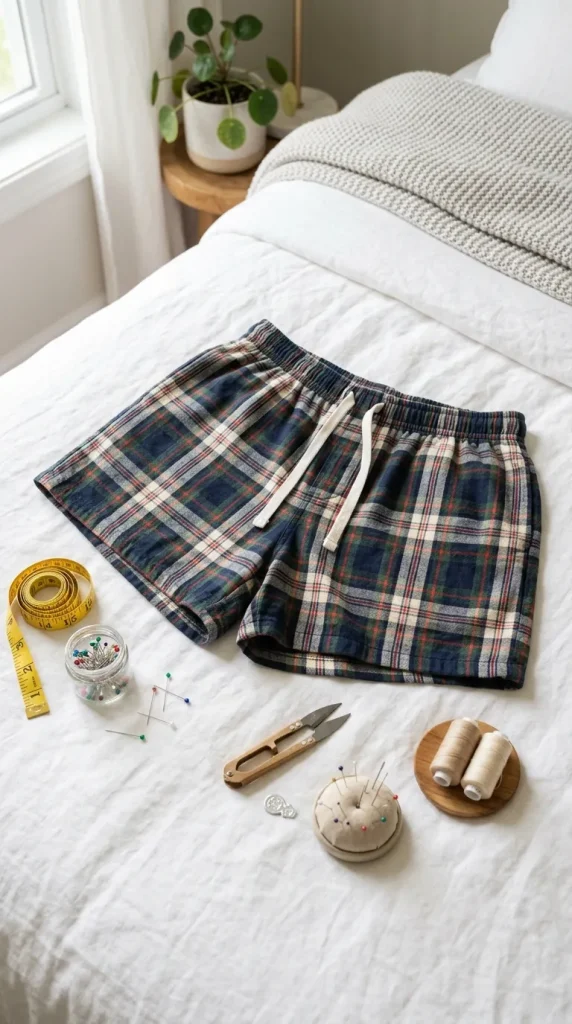
8. Comfortable Elastic-Waist Lounge Shorts
Ready to transition from sewing objects to sewing simple garments? A pair of loose, elastic-waist pajama shorts is the absolute best way to dip your toes into the world of wearable fashion.
- Description: Relaxed-fit loungewear shorts featuring a simple two-piece or four-piece pattern construction and an easy, thread-through elastic waistband.
- Who It Suits Best: Anyone eager to break into garment sewing without dealing with complex body measurements, darts, or tricky zippers.
- Sewing Tips: Choose a stable, non-stretchy fabric like cotton flannel or poplin for your first pair. Stretchy knits can warp and stretch out under your needle if you aren’t familiar with adjusting your machine’s tension.
- Benefits: Provides comfortable, custom-fit loungewear, introduces you to basic garment rise and inseam construction, and breaks the fear of sewing wearable clothes.
9. Reusable Makeup Remover Rounds
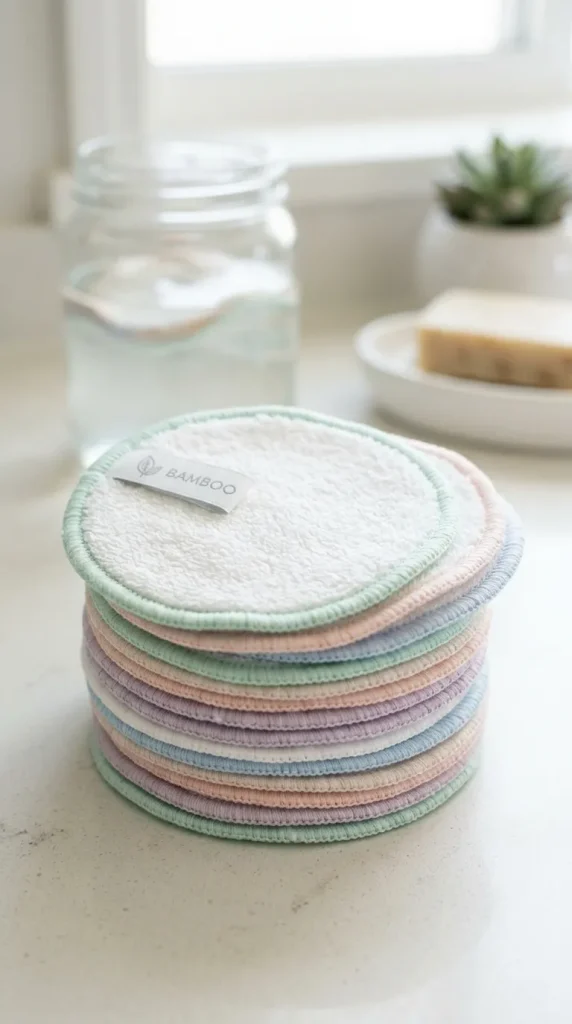
Ditch single-use cotton pads for good. Crafting your own reusable makeup remover rounds is a fast, satisfying project that benefits your wallet and the environment.
- Description: Small, dual-sided pads featuring soft cotton flannel or bamboo terry cloth on one side and a fun printed cotton on the reverse, finished with a tight stitch around the edge.
- Who It Suits Best: Eco-conscious beauty enthusiasts or anyone looking to master sewing smooth curves and circular shapes on their machine.
- Sewing Tips: If sewing perfect circles feels too tricky, switch to a square format. Square pads are just as effective for cleansing, but much easier to sew with straight lines for a beginner.
- Benefits: Saves money over time, incredibly gentle on the skin, and works up so quickly you can make a full week’s supply in a single sitting.
10. The Simple Fabric Cord Organizer
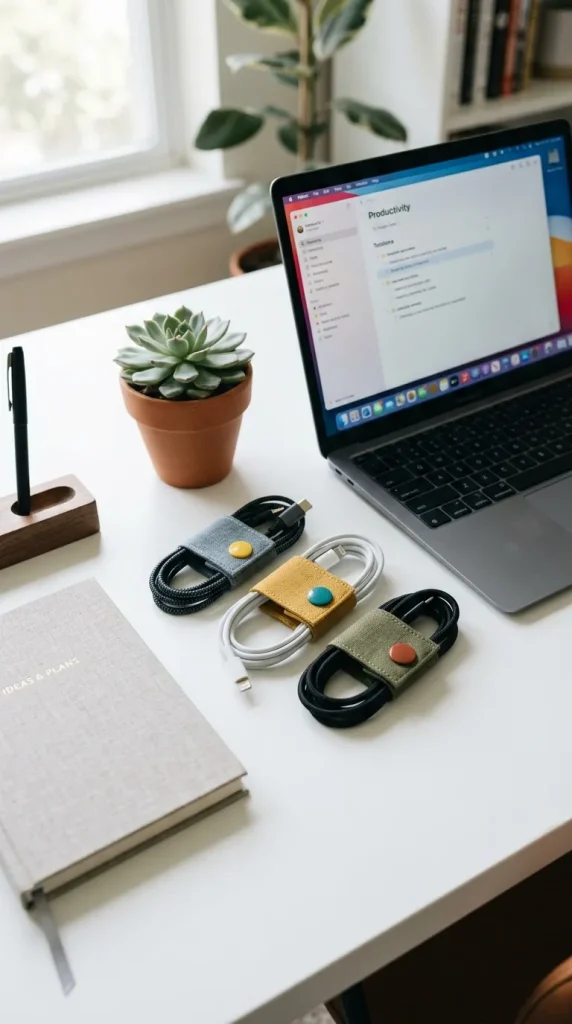
Keep your headphones, phone chargers, and laptop cables from turning into a tangled nest inside your backpack with a collection of simple, snap-closed fabric cord wraps.
- Description: A small strip of fabric reinforced with interfacing, featuring a plastic snap or hook-and-loop tape at the ends to neatly bundle loose cords together.
- Who It Suits Best: Tech-savvy individuals, students, or travelers who love hyper-organization and want to practice adding hardware to their sewing projects.
- Sewing Tips: Use no-sew plastic resin snaps and a snap press tool for an incredibly fast, clean, professional finish that won’t rip out of your fabric.
- Benefits: Instantly cleans up messy drawers and bags, works with the smallest scraps of fabric you own, and introduces simple snap attachment techniques.
At-A-Glance Beginner Sewing Project Guide
To help you match your available crafting time and current skill level with the perfect project, consult our comprehensive comparison table below:
| Project Name | Prep & Cut Time | Sewing Time | Difficulty | Key Skill Taught |
| 1. Envelope Pillow Cover | 5 Mins | 15 Mins | Very Easy | Ironing clean hems & folding fabric |
| 2. Everyday Tote Bag | 10 Mins | 25 Mins | Easy | Boxing corners & reinforcing handles |
| 3. Elastic Scrunchie | 3 Mins | 7 Mins | Very Easy | Threading elastic through a casing |
| 4. Corner Bookmark | 2 Mins | 5 Mins | Very Easy | Pivoting at clean 90-degree angles |
| 5. Microwave Bowl Cozy | 10 Mins | 20 Mins | Easy | Sewing structural darts & working with batting |
| 6. Drawstring Pouch | 8 Mins | 15 Mins | Easy | Creating hollow channels for drawcords |
| 7. Fabric Coasters | 5 Mins | 10 Mins | Very Easy | Clipping corner bulk & topstitching borders |
| 8. Lounge Shorts | 20 Mins | 40 Mins | Medium | Reading basic garment patterns & crotch curves |
| 9. Makeup Rounds | 5 Mins | 10 Mins | Easy | Navigating curves & controlling speed |
| 10. Cord Organizer | 3 Mins | 5 Mins | Very Easy | Working with interfacing & attaching snaps |
Pro-Tips for Sewing Success at Home
Keep these invaluable insider secrets in mind to make sure your crafting sessions stay fun and stress-free:
- Always Pre-Wash Your Fabric: Natural fibers like cotton and linen shrink significantly during their first trip through the laundry. If you skip pre-washing, your finished project might warp, twist, or shrink out of shape the very first time you clean it.
- Change Your Needle Regularly: A dull needle causes skipped stitches, puckered fabric, and loud thumping noises from your machine. Treat your projects to a fresh needle after every 8 hours of continuous sewing time.
- Let the Feed Dogs Do the Work: Avoid pulling or yanking your fabric from behind the machine as you sew. This can bend your needle or throw off your stitch timing. Simply balance and guide the fabric with your hands, allowing the metal teeth underneath (the feed dogs) to pull it through naturally.
- Press Every Single Seam: A professional-looking project isn’t defined by perfect stitches; it’s defined by thorough pressing. Ironing your seams flat sets the stitches into the fabric, turning a bubbly, homemade-looking item into a crisp, boutique-worthy creation.
Common Beginner Sewing Mistakes to Avoid
- Using the Wrong Thread: Match your thread type to your fabric. For almost all beginner cotton and home decor projects, a high-quality 100% polyester or all-purpose cotton thread is your best choice. Avoid cheap, unbranded bargain threads, which snap easily and leave excessive lint inside your machine.
- Forgetting to Backstitch: If you don’t lock your stitches at the very beginning and end of every line, your seams will slowly unravel the moment your item is used or washed. Always sew forward two stitches, hold your reverse lever to backstitch two stitches, and then proceed forward.
- Ignoring Machine Tension: If the bottom of your fabric looks like a chaotic bird’s nest of loops, your upper thread tension is likely threaded incorrectly or too loose. Don’t panic! Unthread your entire machine, raise your presser foot, and re-thread it carefully from scratch.
Frequently Asked Questions
What basic tools do I need to start sewing?
To tackle these easy projects, you only need a standard sewing machine capable of a straight stitch, all-purpose thread, sharp fabric shears, sewing pins or clips, a clear sewing ruler, and a household iron for pressing.
Can I make these projects using a hand needle instead of a machine?
Yes! While a sewing machine speeds up the process significantly and provides optimal durability for items like bags and shorts, smaller projects like the scrunchies, fabric bookmarks, and makeup remover rounds can easily be sewn by hand using a sturdy running stitch or backstitch.
How do I know what needle size to use?
For standard quilting cotton, linen, and lightweight canvas used in these projects, a universal size 80/12 needle is the absolute best option. For heavier canvas or denim tote bags, step up to a heavy-duty size 90/14 or 100/16 needle to prevent breakage.
Conclusion: Take It One Stitch at a Time!
The journey into crafting is a beautiful, deeply fulfilling path. Every item you make carries a spark of your personal creativity, style, and effort. Don’t worry about making mistakes along the way—every seasoned expert was once a beginner sitting in front of a messy pile of tangled thread. Pick an idea from this list that excites you, find some scrap fabric, and take it one stitch at a time.
Which of these easy projects are you going to try first? Gather your supplies, power up your machine, and start creating today! Happy sewing!