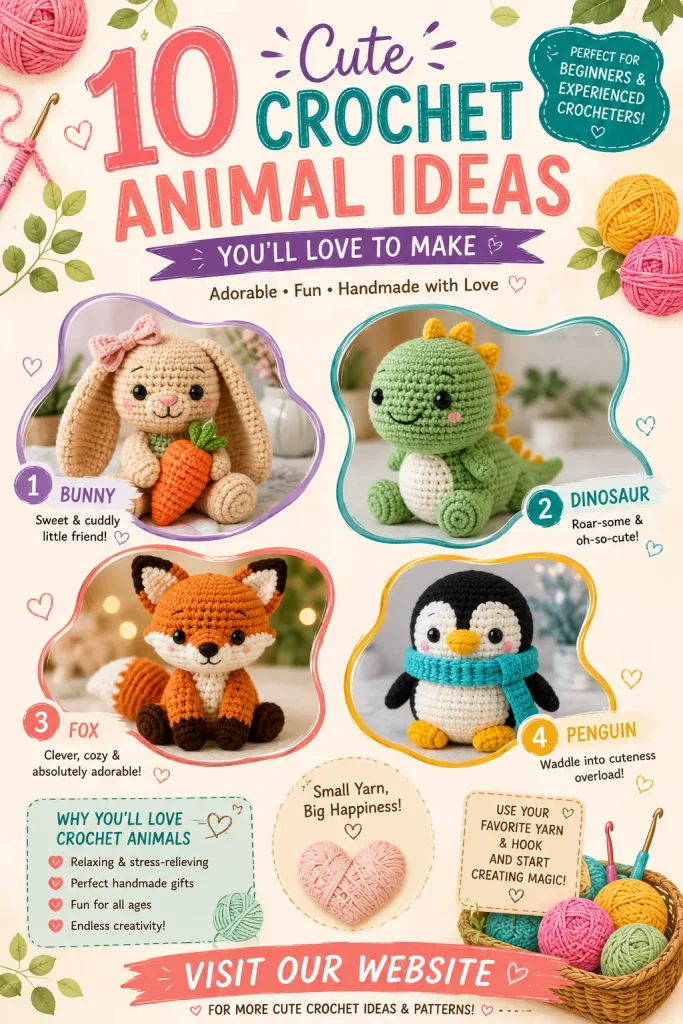
10 Cute Crochet Animal Ideas You’ll Love to Make
Discover 10 adorable crochet animal ideas perfect for beginners and experienced crocheters. Make cute amigurumi animals with easy inspiration. crochet […]
Discover 10 adorable crochet animal ideas perfect for beginners and experienced crocheters. Make cute amigurumi animals with easy inspiration. crochet […]
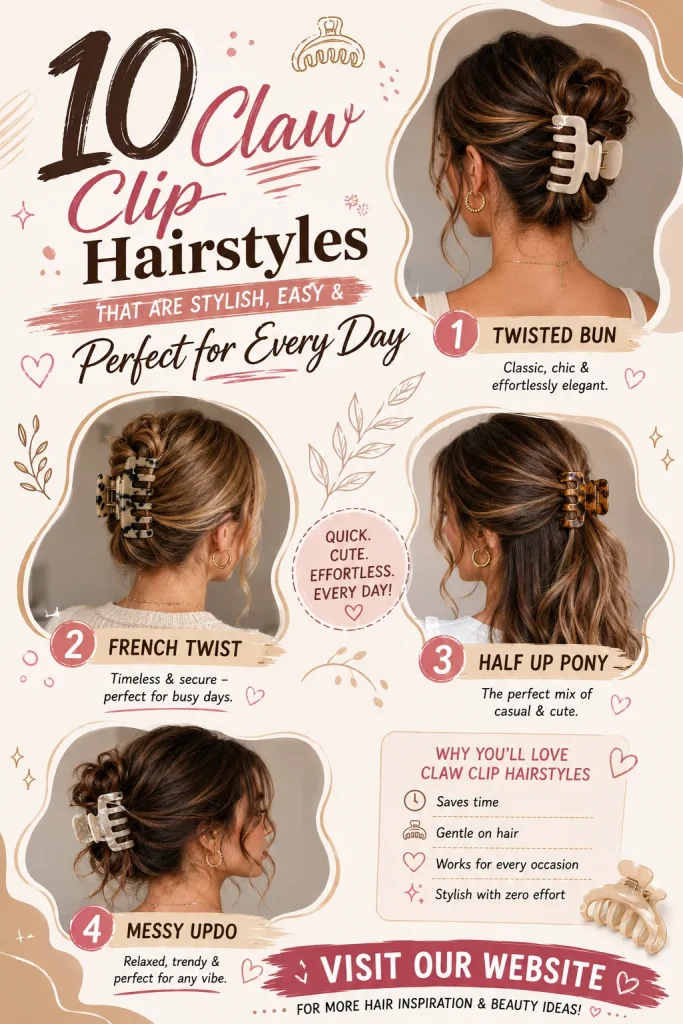
Discover 10 trendy claw clip hairstyles that are quick, stylish, and perfect for everyday wear. Explore effortless buns, twists, ponytails,
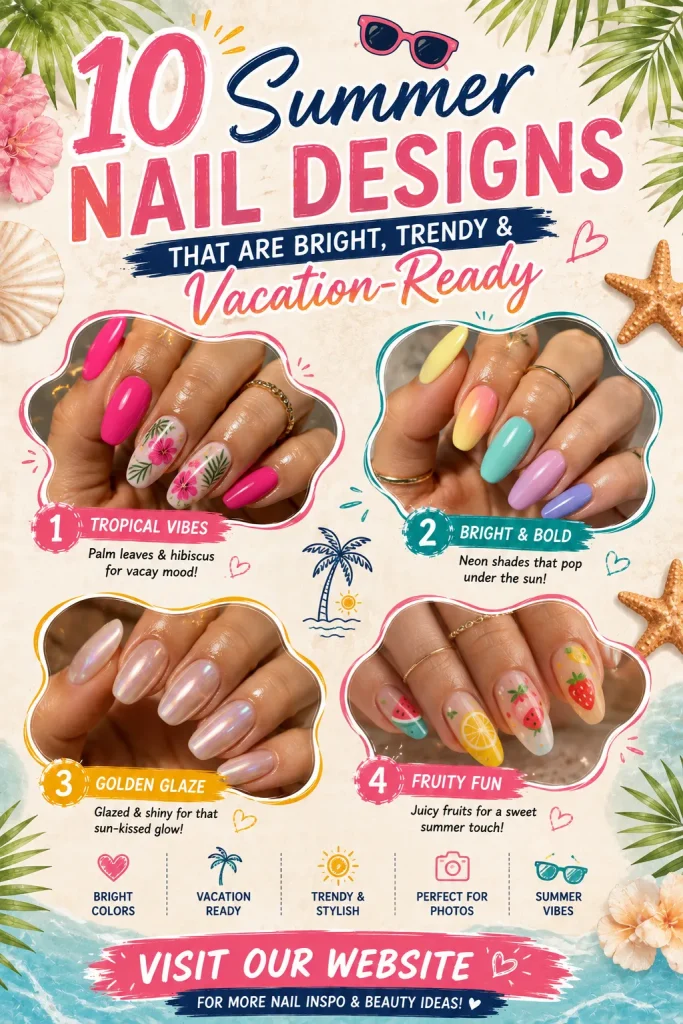
Discover 10 trendy summer nail designs featuring tropical colors, glazed nails, fruity nail art, floral patterns, and vibrant manicures for

Discover 10 dorm room ideas for guys featuring modern decor, smart storage, gaming setups, minimalist designs, and cozy essentials. Get
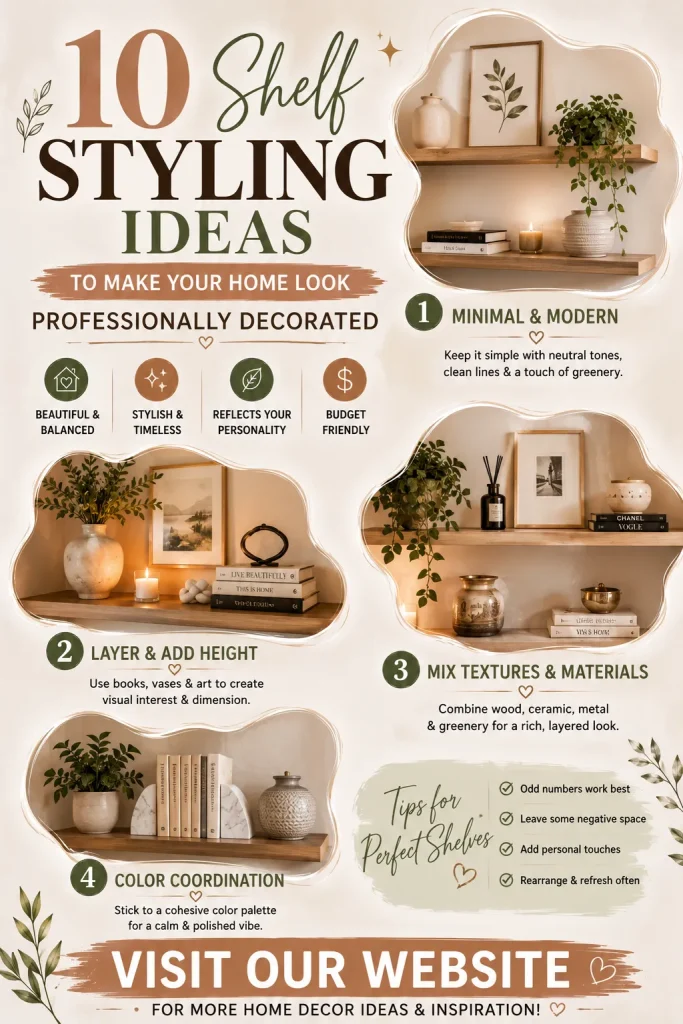
Discover 10 beautiful shelf styling ideas to elevate your home decor. Learn how to style floating shelves, bookshelves, and display
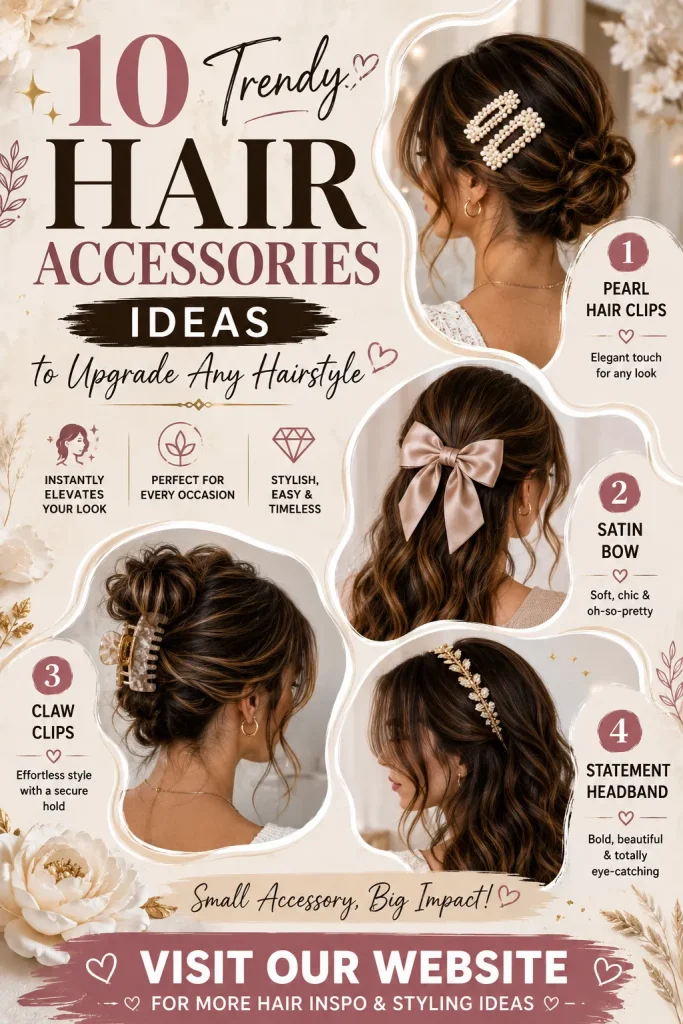
Discover 10 trendy hair accessories ideas to instantly upgrade any hairstyle. From pearl clips and satin bows to claw clips
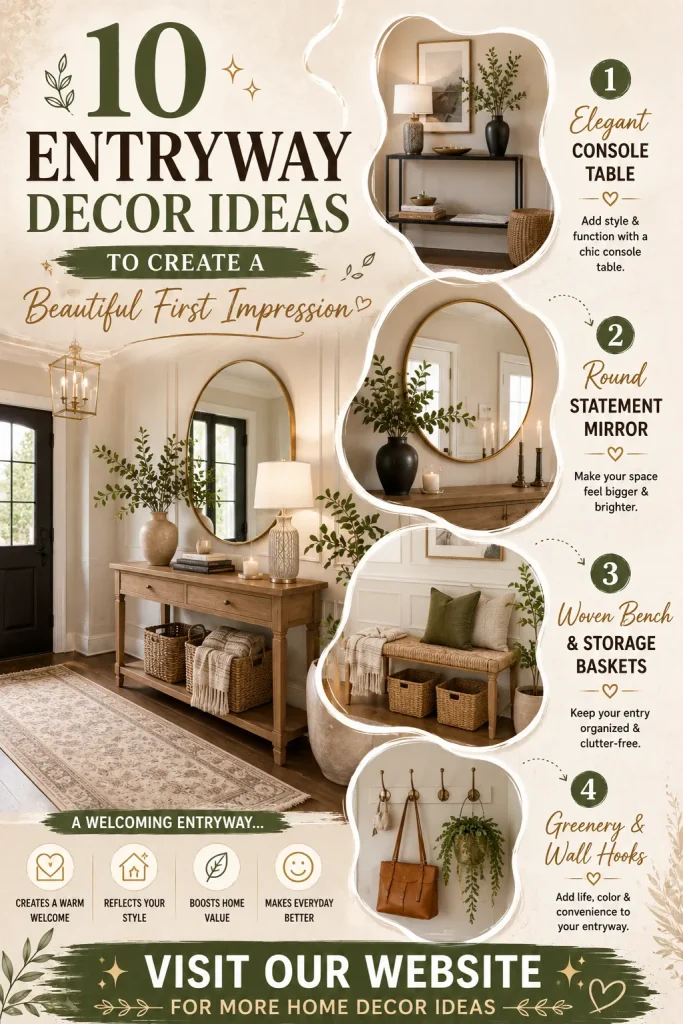
Discover 10 stylish entryway decor ideas to make your home’s entrance warm, organized, and inviting. Explore modern, minimalist, farmhouse, and
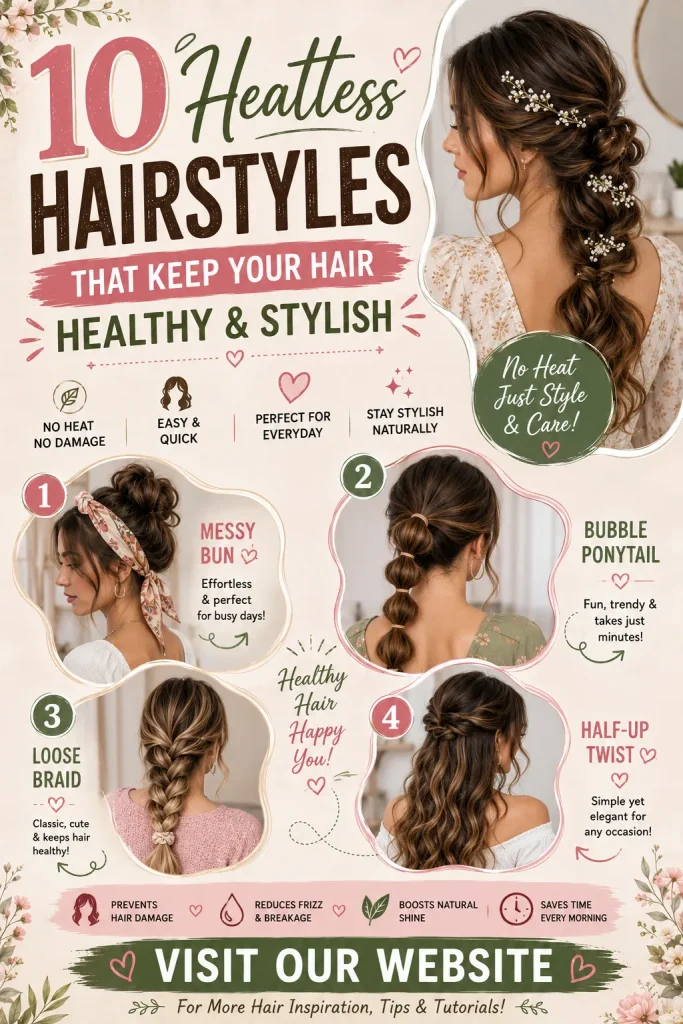
Discover 10 easy heatless hairstyles that protect your hair from damage while keeping you stylish. Explore trendy buns, braids, ponytails,
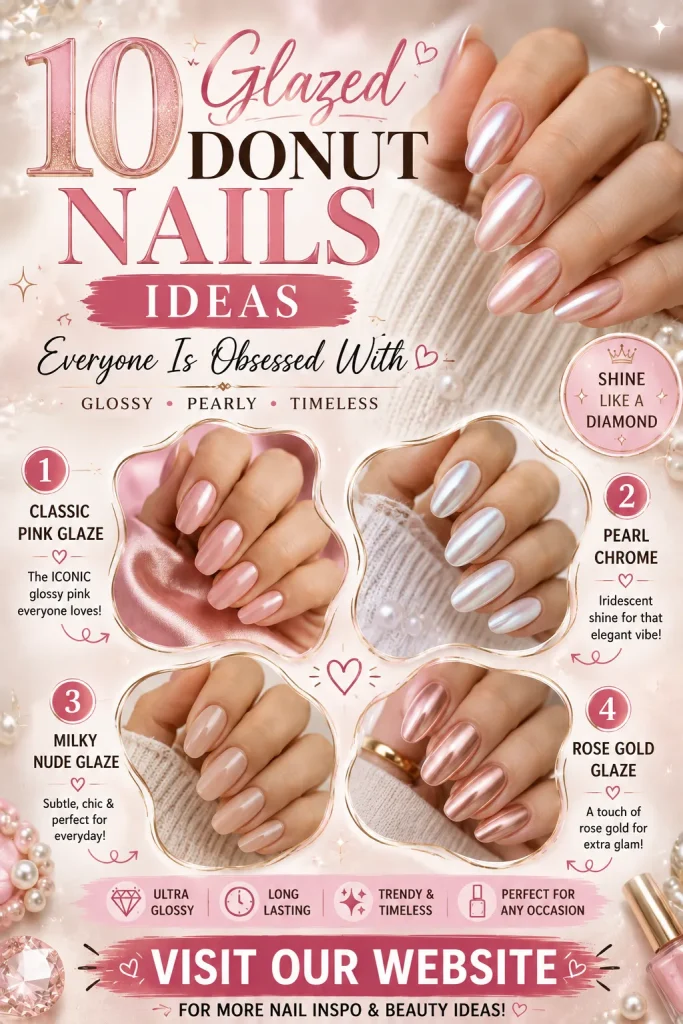
Discover 10 gorgeous glazed donut nails ideas that are trending everywhere. From pearl chrome finishes to soft pink glazed manicures,

Discover 10 stylish vacation outfit ideas perfect for beach trips, city escapes, tropical holidays, and summer vacations. Get trendy travel