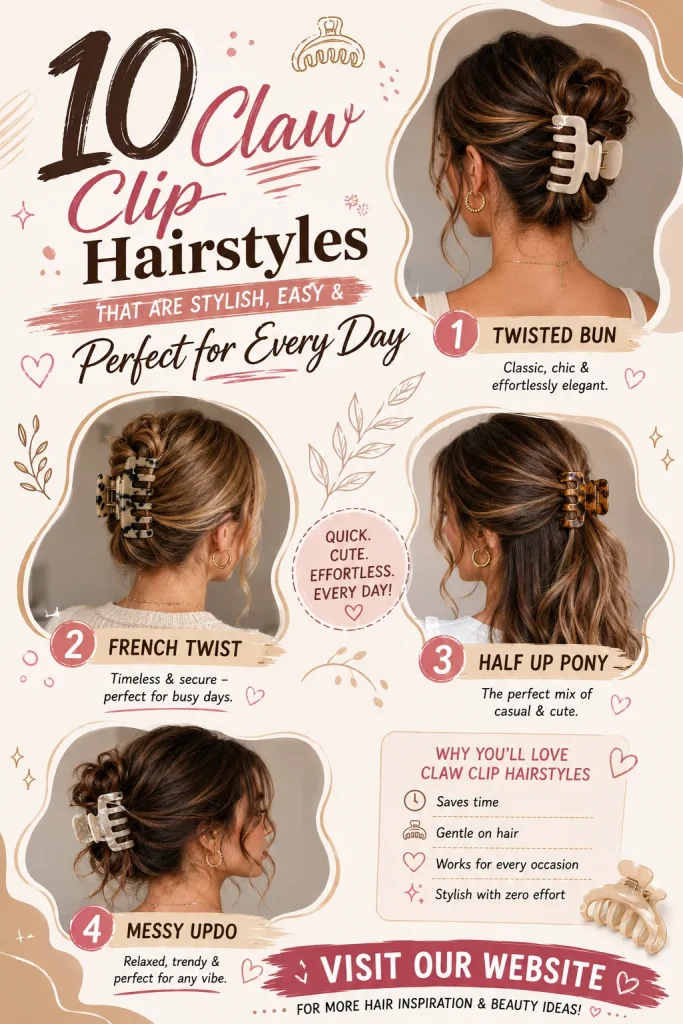
10 Claw Clip Hairstyles That Are Stylish, Easy & Perfect for Every Day
Discover 10 trendy claw clip hairstyles that are quick, stylish, and perfect for everyday wear. Explore effortless buns, twists, ponytails, […]
Discover 10 trendy claw clip hairstyles that are quick, stylish, and perfect for everyday wear. Explore effortless buns, twists, ponytails, […]
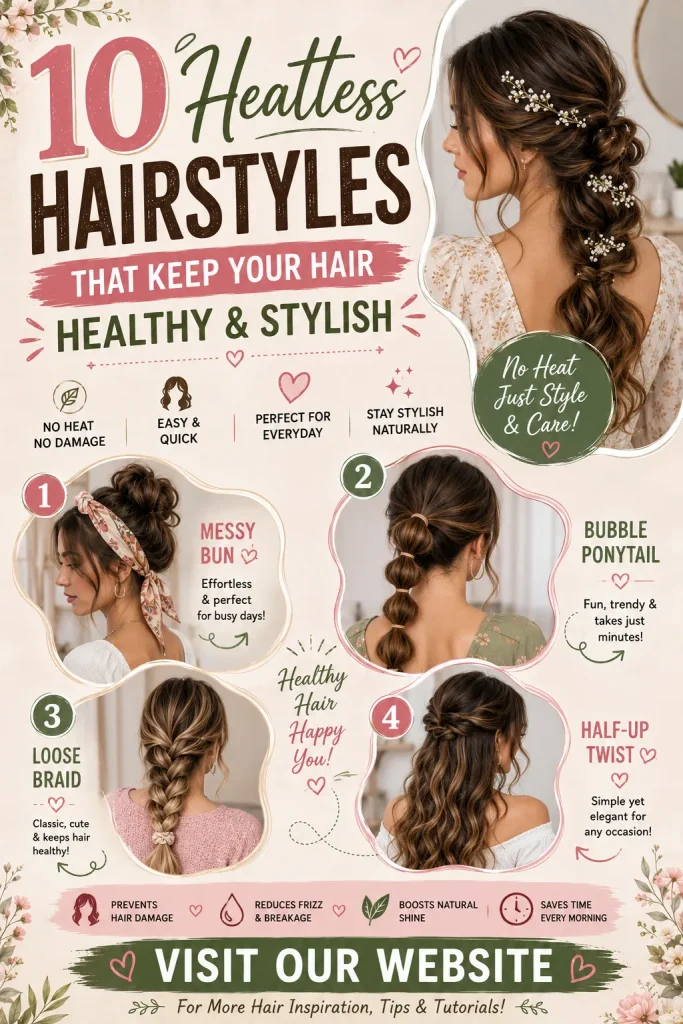
Discover 10 easy heatless hairstyles that protect your hair from damage while keeping you stylish. Explore trendy buns, braids, ponytails,
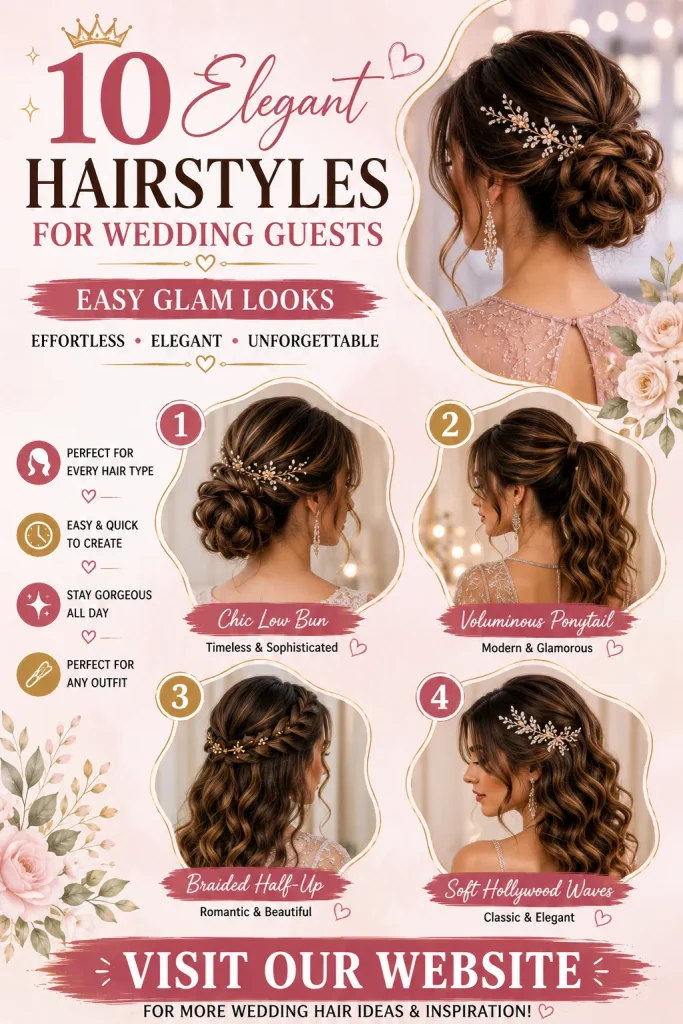
Discover 10 elegant hairstyles for wedding guests that are easy, glamorous, and perfect for every hair type. Find beautiful updos,
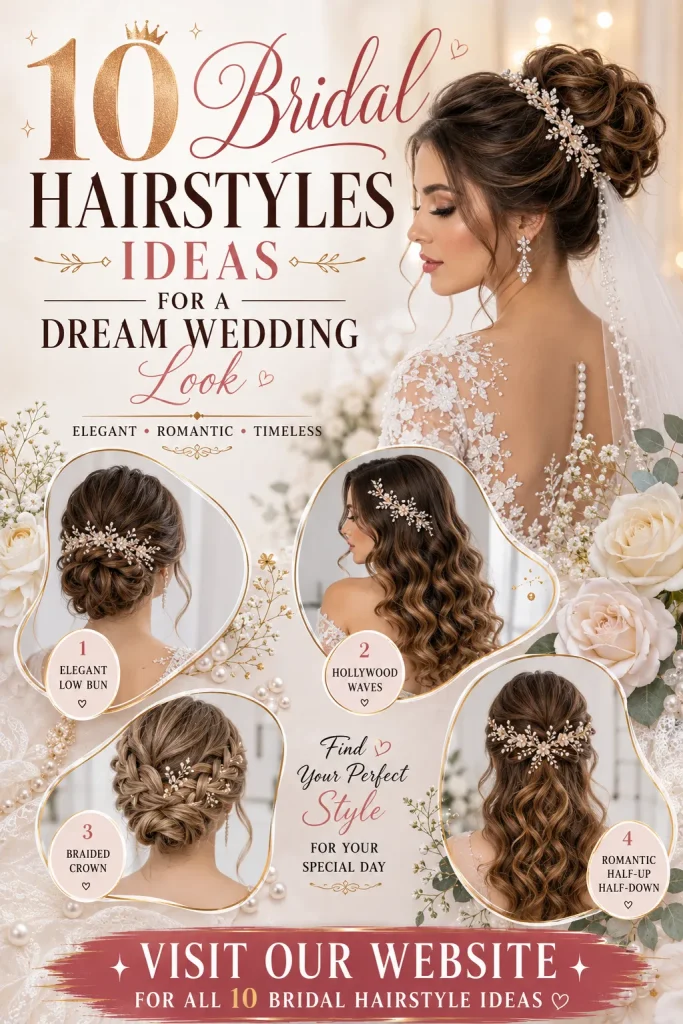
Discover 10 stunning bridal hairstyle ideas for your dream wedding look. Explore elegant buns, romantic curls, braided styles, and modern
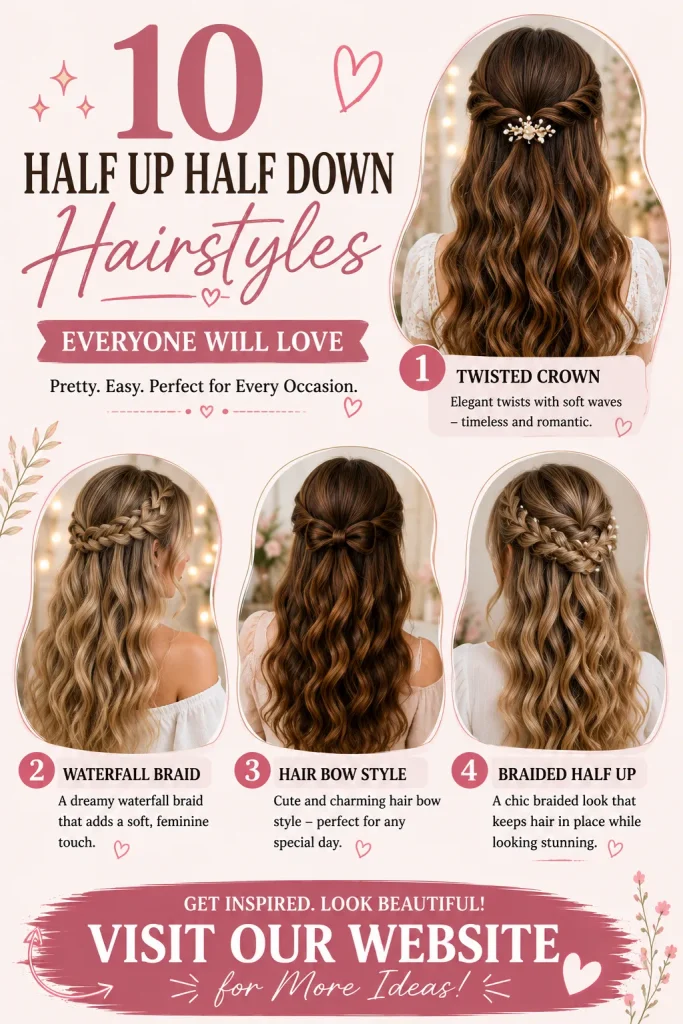
Discover 10 beautiful half up half down hairstyles that are trendy, elegant, and easy to style. Find inspiration for weddings,
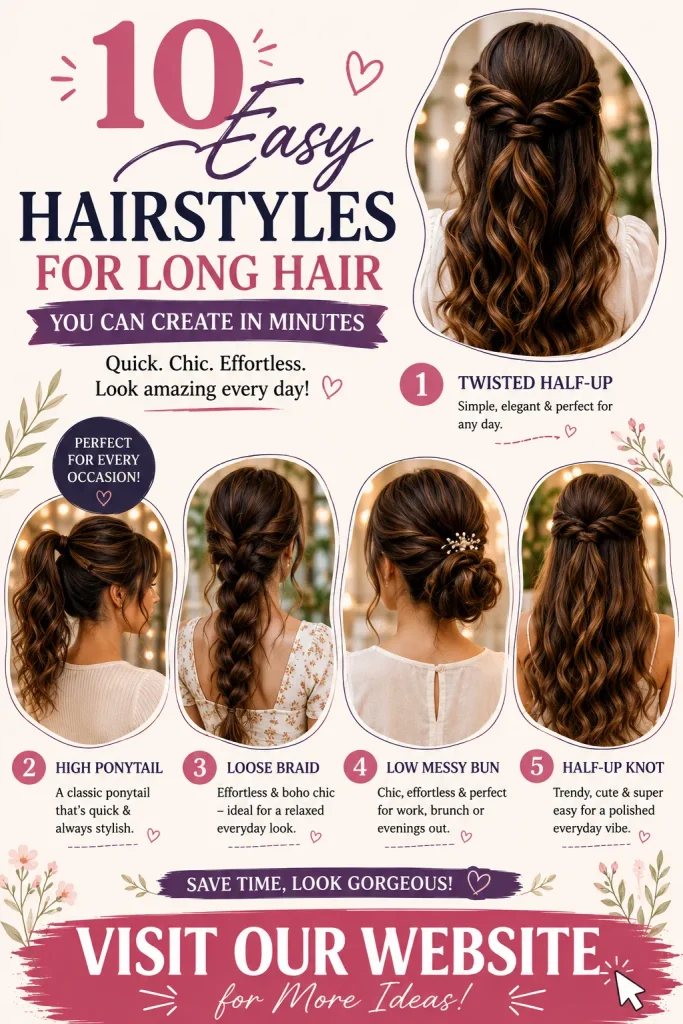
Discover 10 easy hairstyles for long hair that you can create in minutes. From elegant buns and braids to quick
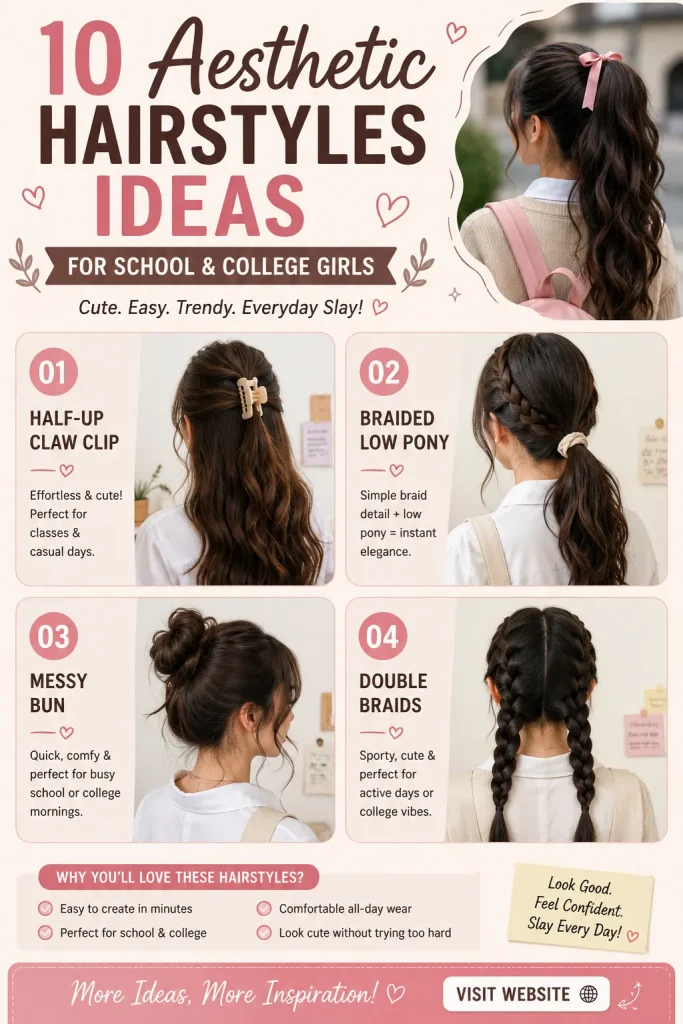
Discover 10 aesthetic hairstyles for school and college girls that are cute, trendy, and easy to create. Explore everyday hairstyle
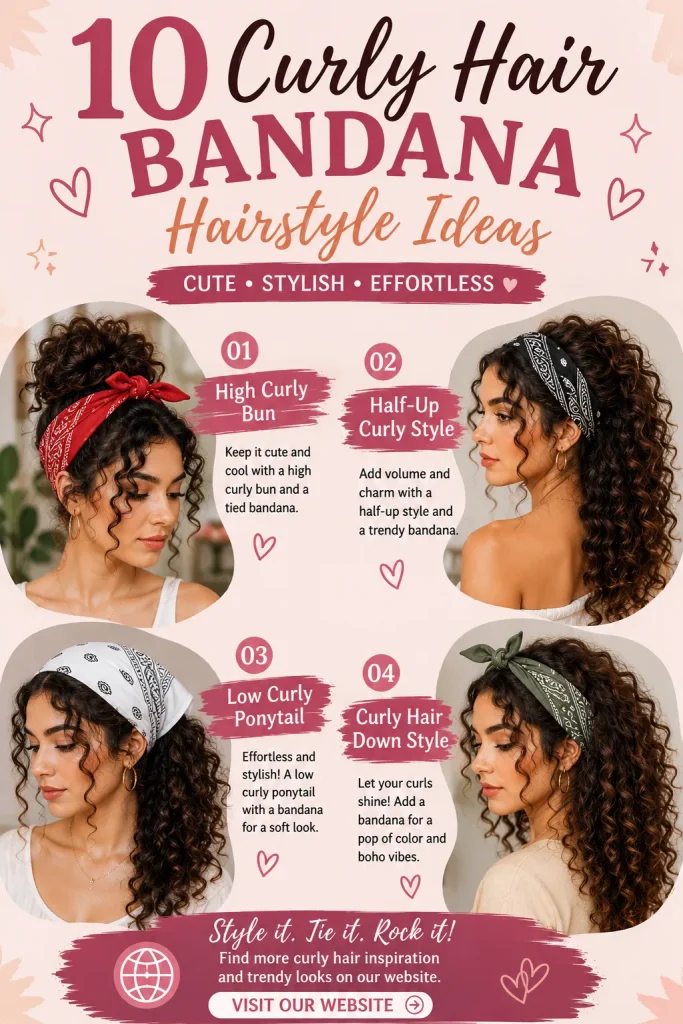
Discover beautiful curly hair bandana hairstyle ideas that are trendy, cute, and perfect for everyday looks. Explore stylish ways to
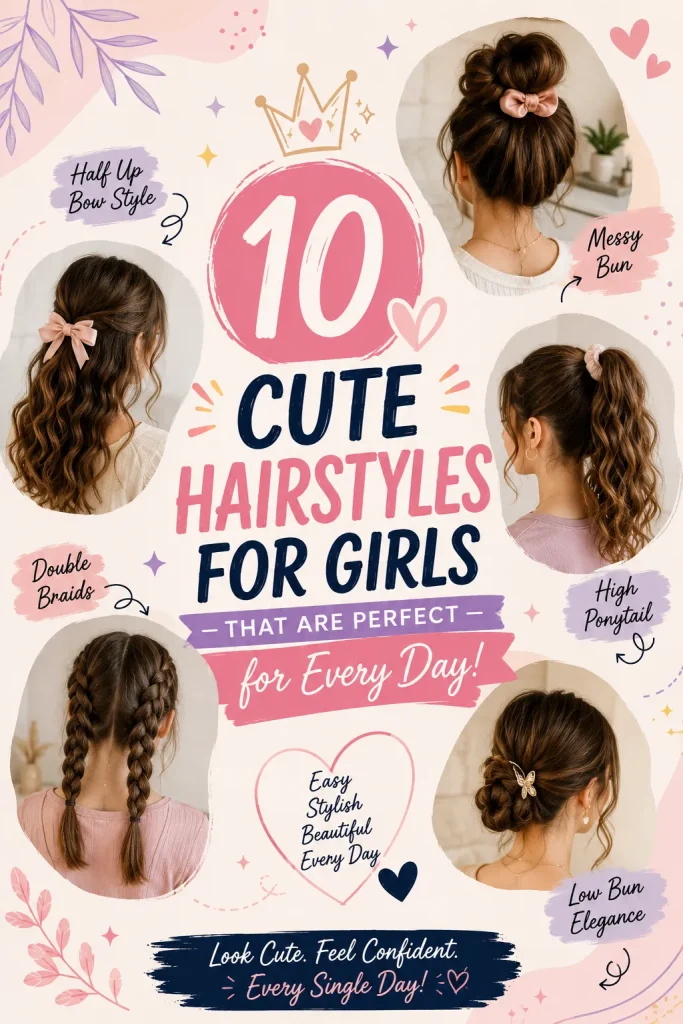
Discover cute hairstyles for girls that are easy, stylish, and perfect for everyday looks. From braids and ponytails to simple

Discover the best summer hairstyles ideas that are stylish, easy, and perfect for hot days. Explore trendy summer hair looks