10 Beautiful Ice Cream Stick Crafts Ideas You Can Make at Home
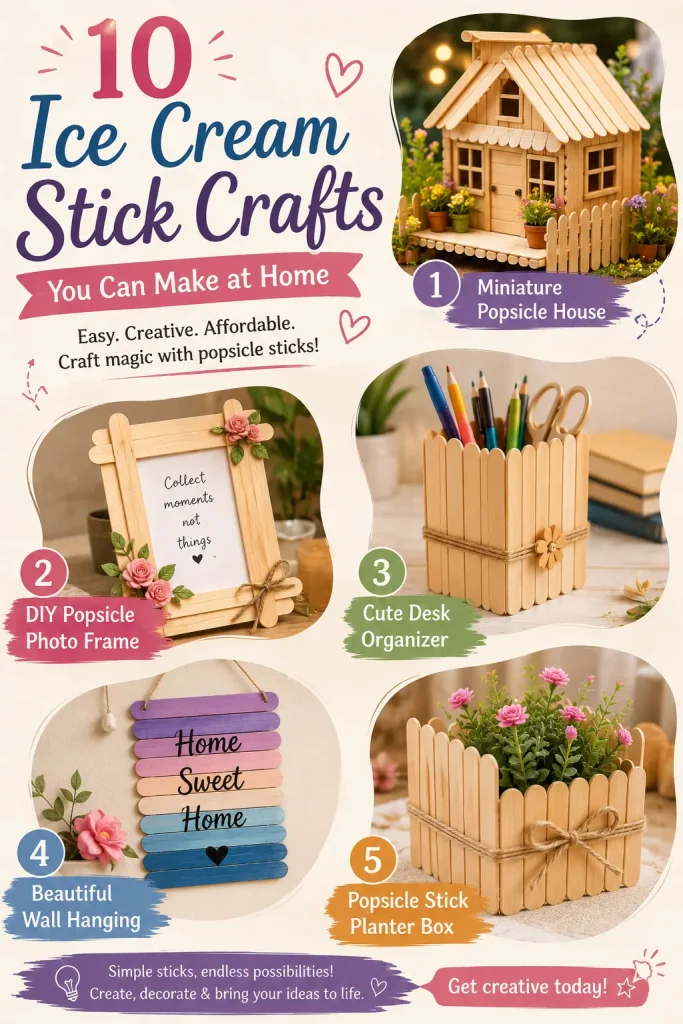
Discover creative ice cream stick crafts that are easy, affordable, and perfect for DIY lovers. Explore beautiful popsicle stick craft […]
Discover creative ice cream stick crafts that are easy, affordable, and perfect for DIY lovers. Explore beautiful popsicle stick craft […]
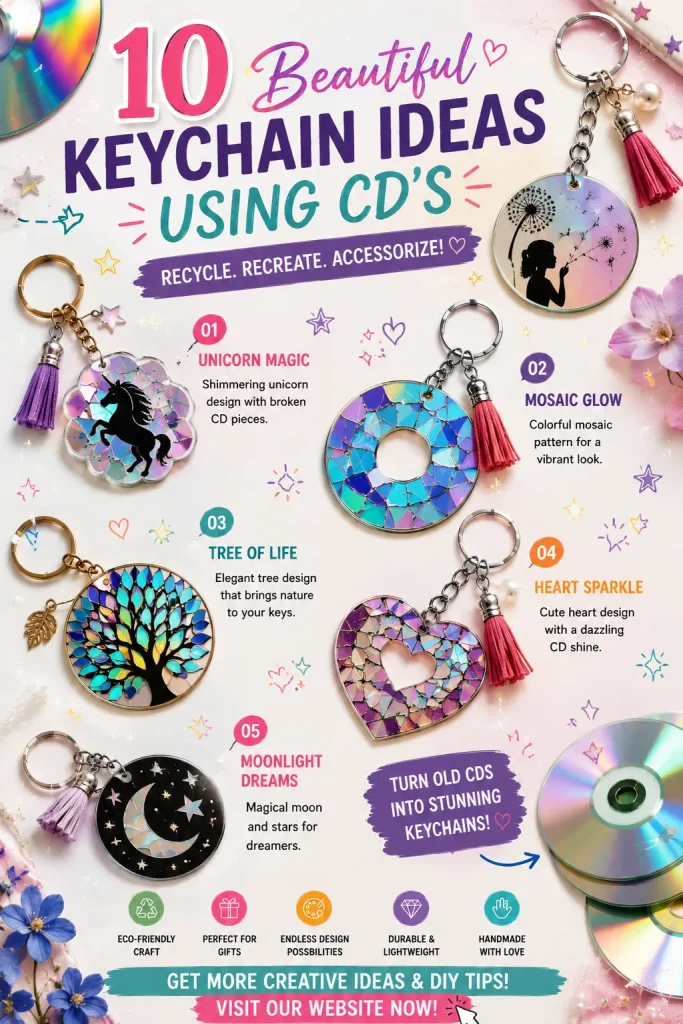
Discover creative DIY keychain ideas using old CDs and turn recycled materials into beautiful handmade accessories. Explore unique CD craft
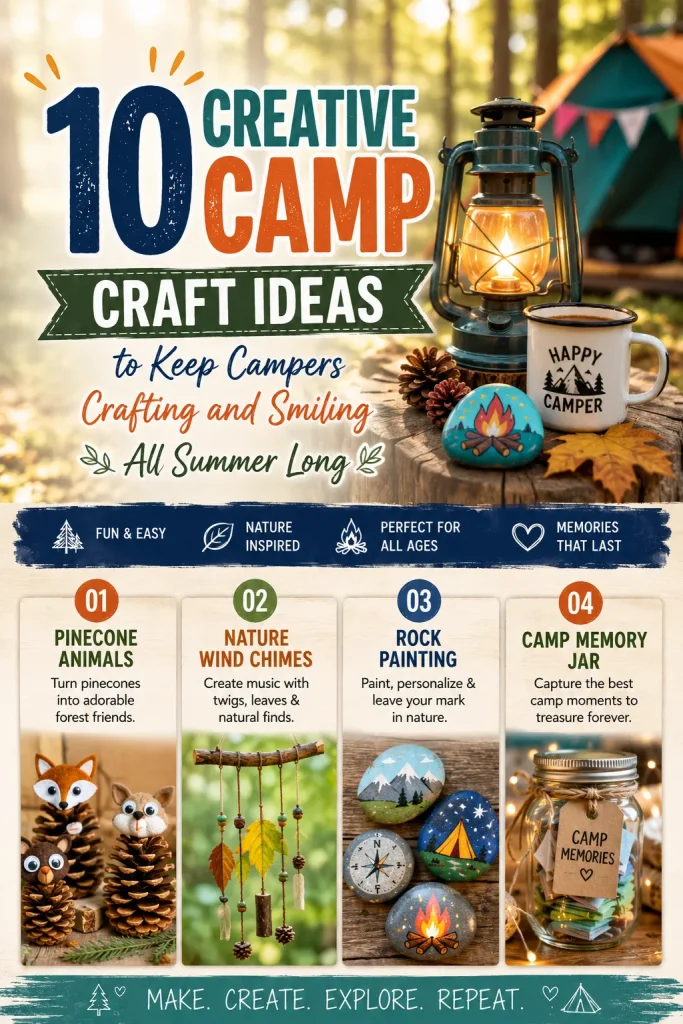
Discover 10 unique camp craft ideas perfect for kids and adults. From nature art to classic camp keepsakes, elevate your
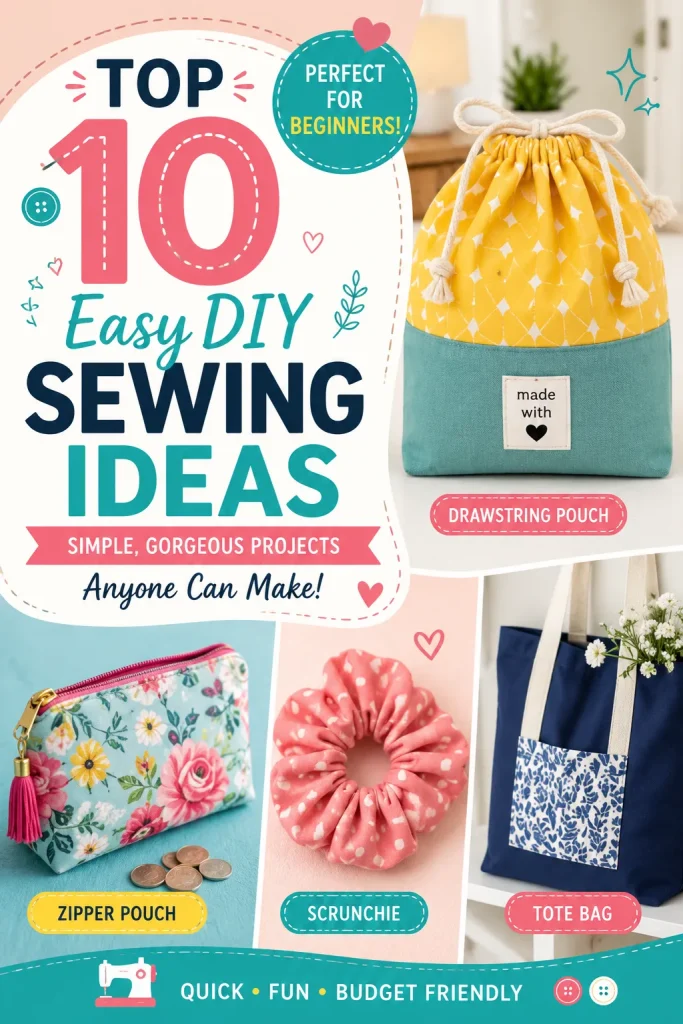
Discover 10 easy DIY sewing ideas perfect for beginners. Create gorgeous tote bags, scrunchies, and home decor with step-by-step guides
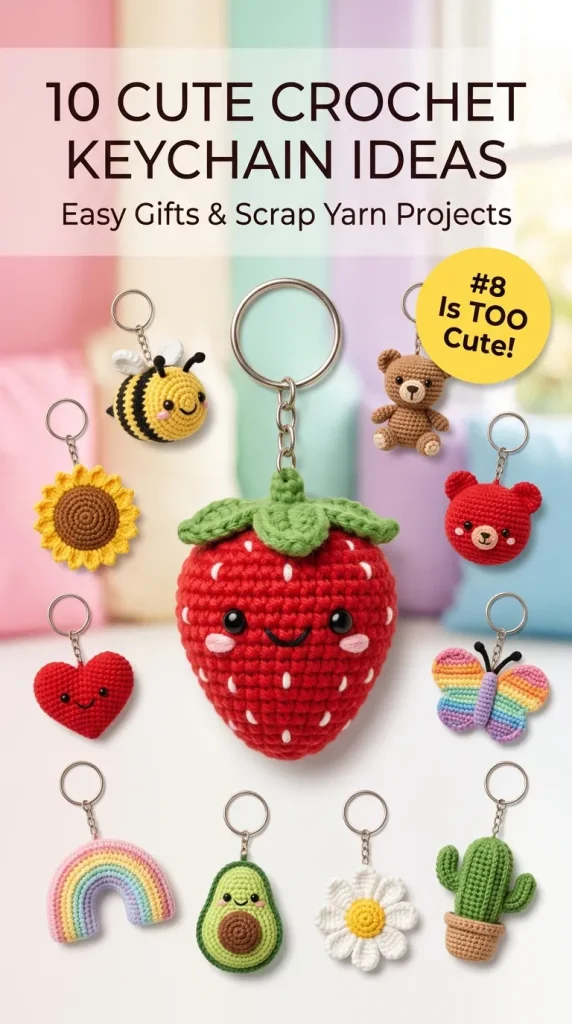
Turn yarn scraps into beautiful accessories! Discover 10 creative crochet keychain ideas, expert stitch tips, and quick amigurumi keyring patterns.

Looking for sweet, unique ways to say happy birthday? Explore 10 cute birthday card ideas packed with adorable illustrations, clever
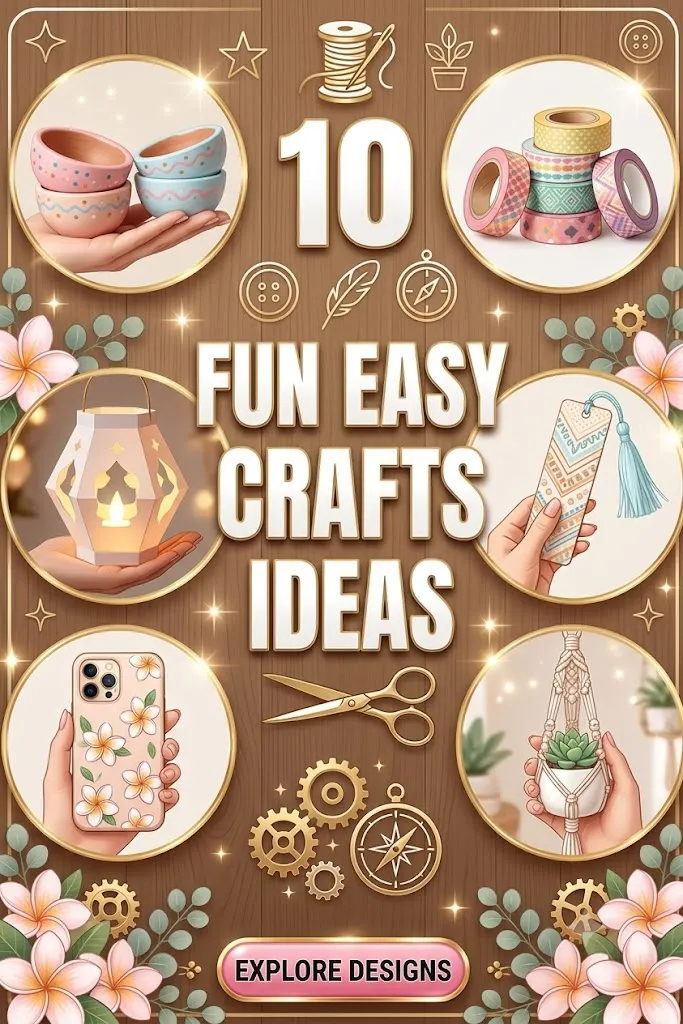
Looking for fun easy crafts ideas? Discover 10 creative, budget-friendly DIY projects with step-by-step styling tips, materials, and expert pro
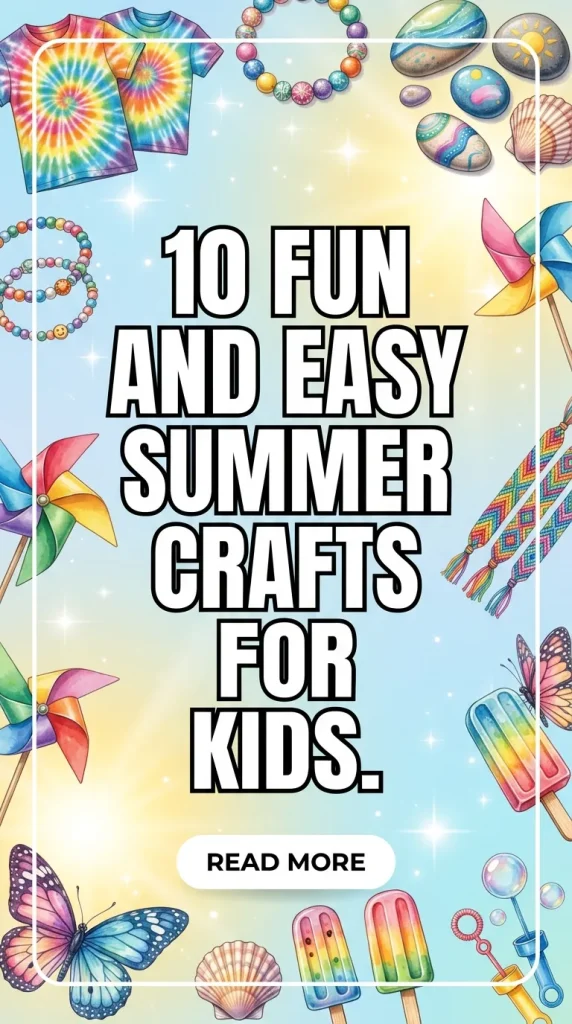
Keep screen time low and creativity high with these 10 easy summer crafts for kids. Includes step-by-step tips, material lists,
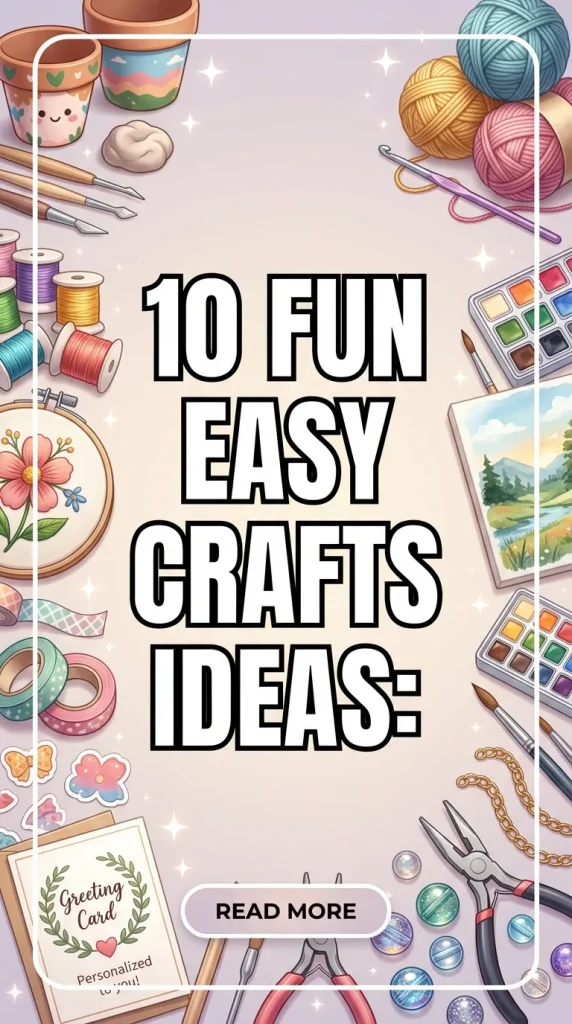
Looking for creative inspiration? Explore these 10 fun easy crafts ideas. Perfect for beginners, low-stress, and using simple everyday materials!
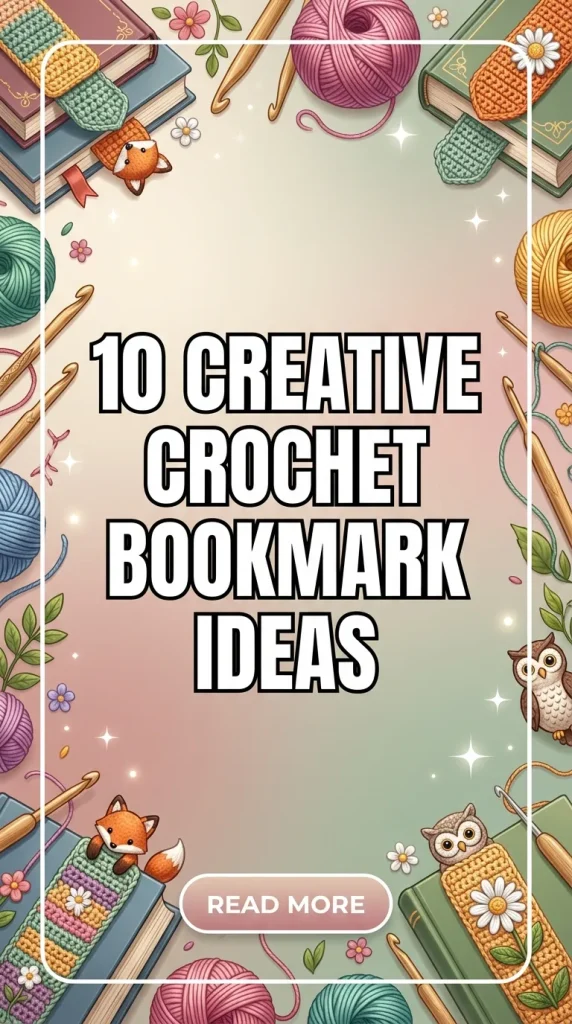
Looking for easy crochet bookmark ideas? Discover 10 unique, stunning handmade designs with expert stitch tips, material guides, and yarn