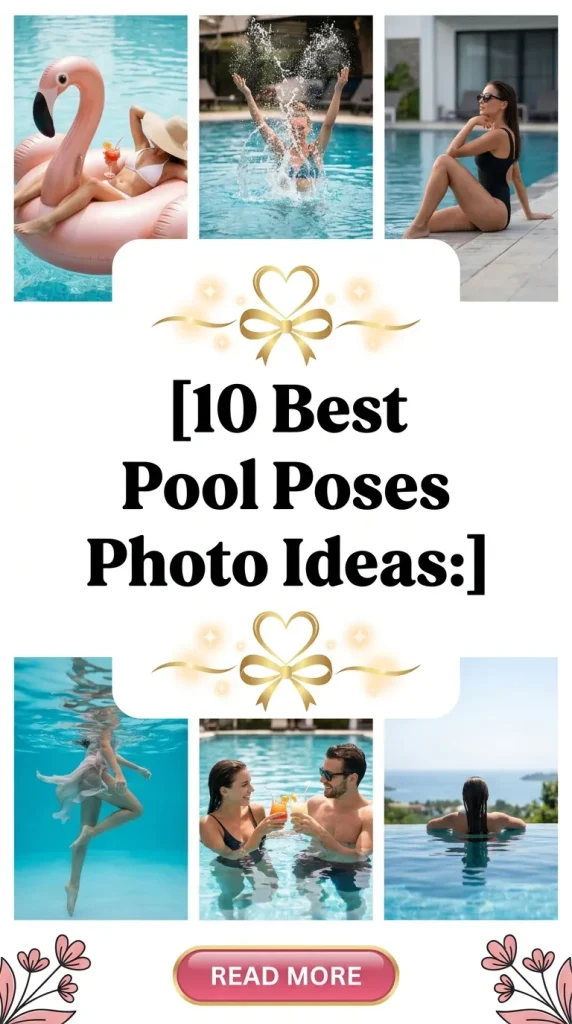
10 Best Pool Poses Photo Ideas:
Master your swimwear look with these 10 effortless pool poses photo ideas. Learn pro camera angles, lighting secrets, and flattering […]
Master your swimwear look with these 10 effortless pool poses photo ideas. Learn pro camera angles, lighting secrets, and flattering […]
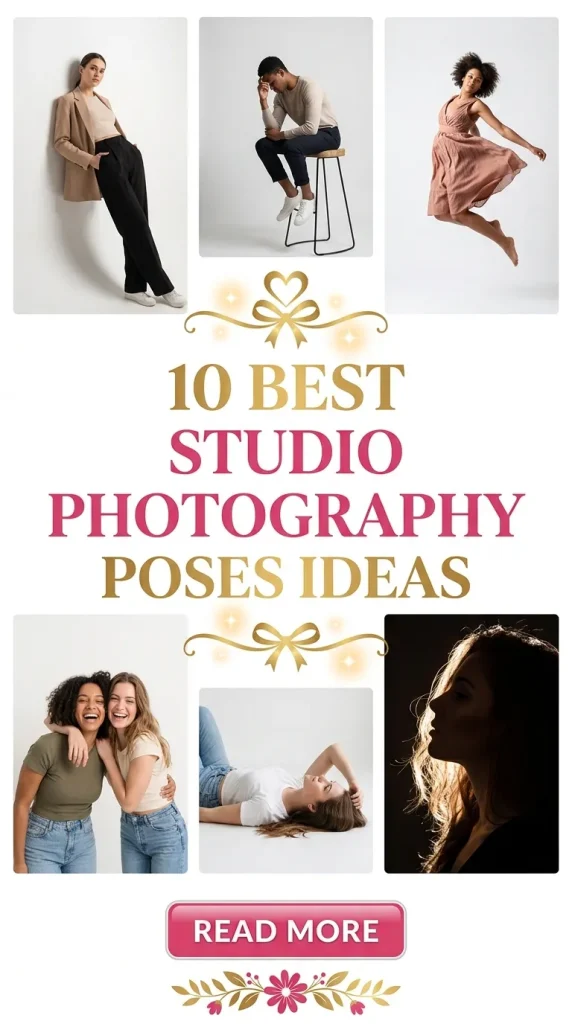
Master your next portrait session with 10 creative studio photography poses ideas. Discover flattering angles, lighting tips, and pro modeling