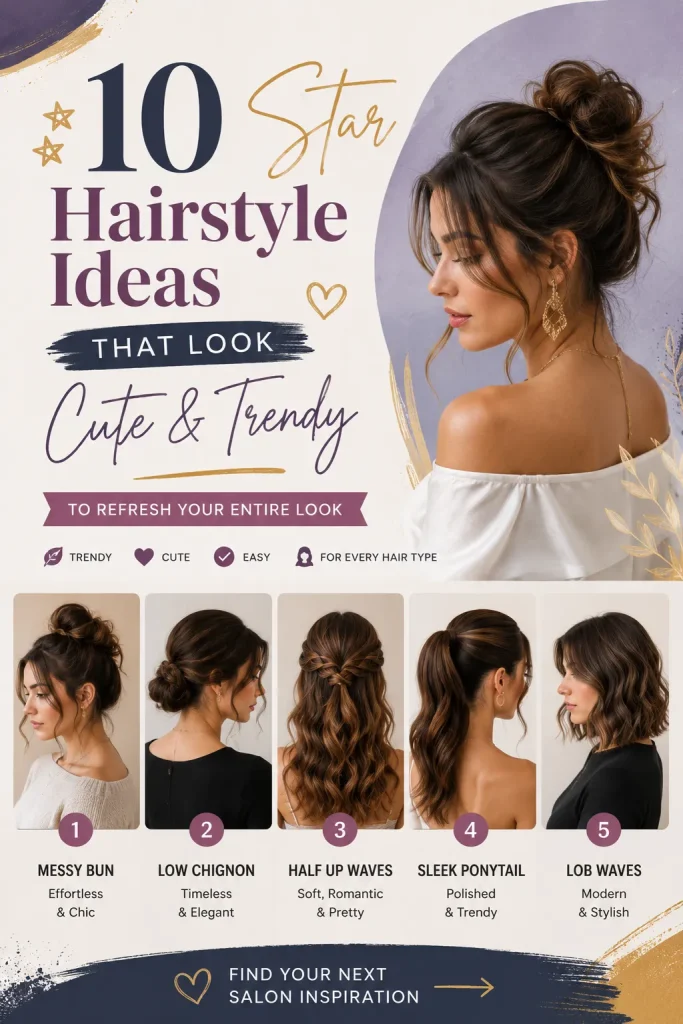
10 Star Hairstyle Ideas That Look Cute and Trendy
Looking for a fresh look? Discover 10 star hairstyle ideas that look cute and trendy, perfect for every hair type. […]
Looking for a fresh look? Discover 10 star hairstyle ideas that look cute and trendy, perfect for every hair type. […]

Discover the ultimate collection of 4th of July wishes, quotes, and messages for 2026. Plus, explore 10 patriotic hairstyle ideas
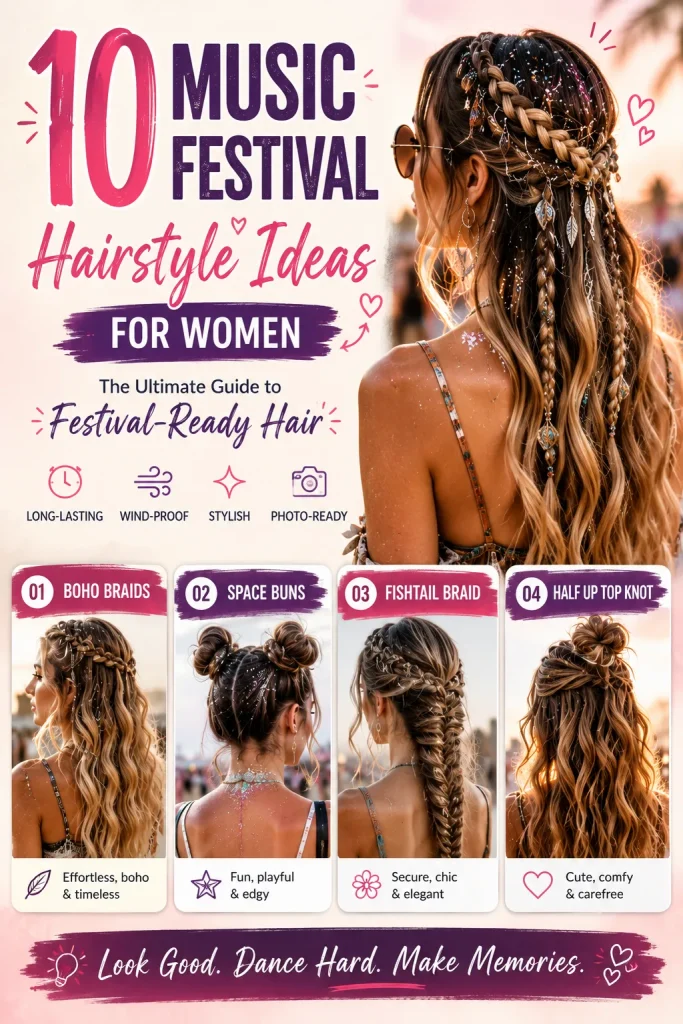
Picture this: Your favorite artist is headlining on the main stage, the bass is vibrating through your chest, and the

Looking for the perfect floral ink? Discover 10 beautiful flower tattoo ideas for women, complete with hidden meanings, placement tips,

Celebrate America’s 250th birthday! Discover the best 4th of July celebrations 2026 events, historic hairstyles, parades, fireworks, and travel tips
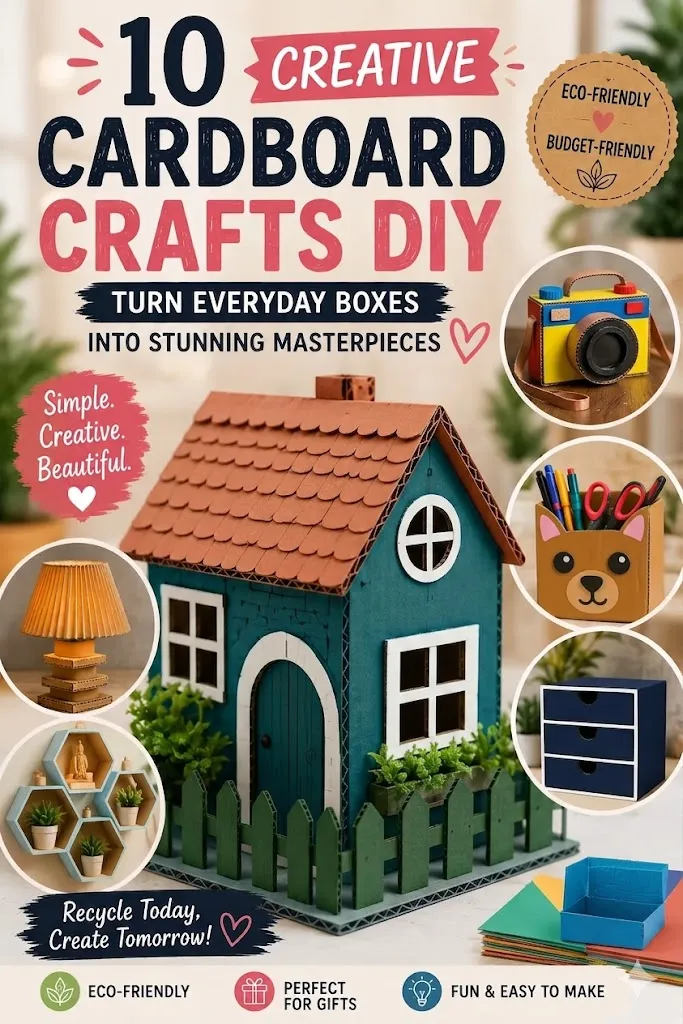
Turn trash into treasure! Explore 10 genius cardboard crafts diy ideas, step-by-step crafting tips, and eco-friendly home decor inspiration. cardboard
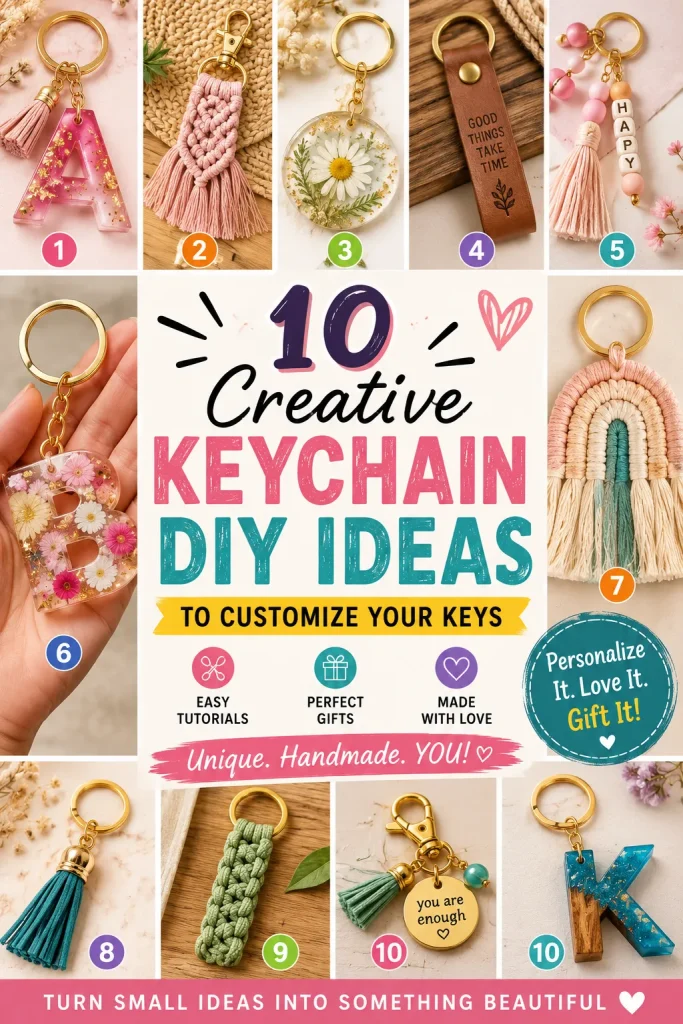
Elevate your accessories with 10 unique keychain diy ideas. Discover easy step-by-step tutorials, expert crafting tips, and personalized gift inspiration.
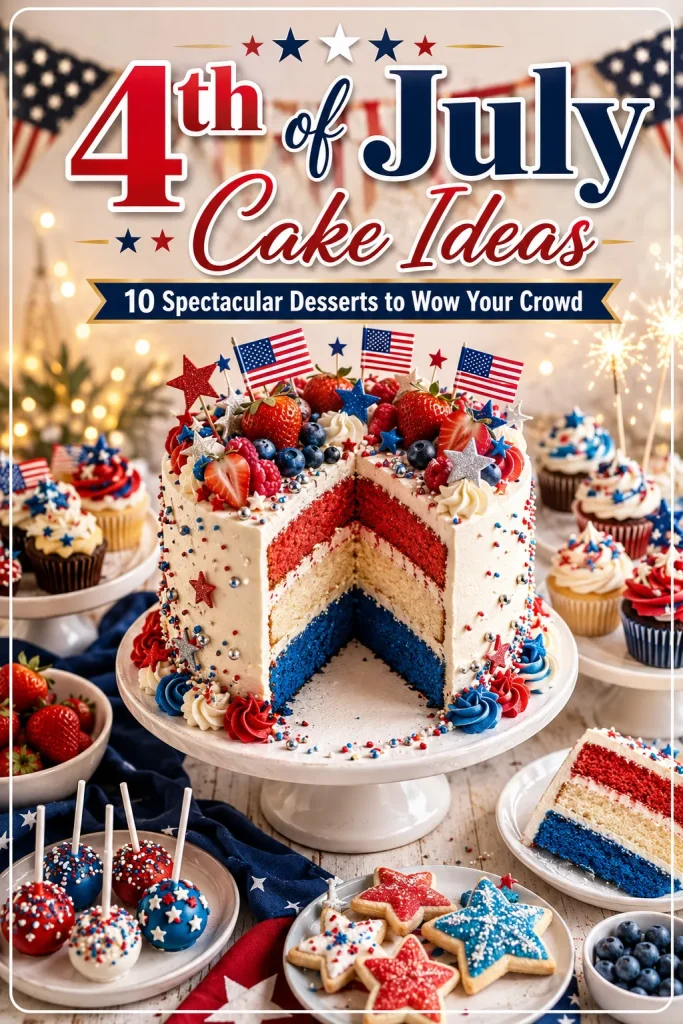
Looking for the best 4th of July cake ideas? Discover 10 stunning, delicious, and patriotic cake designs perfect for your
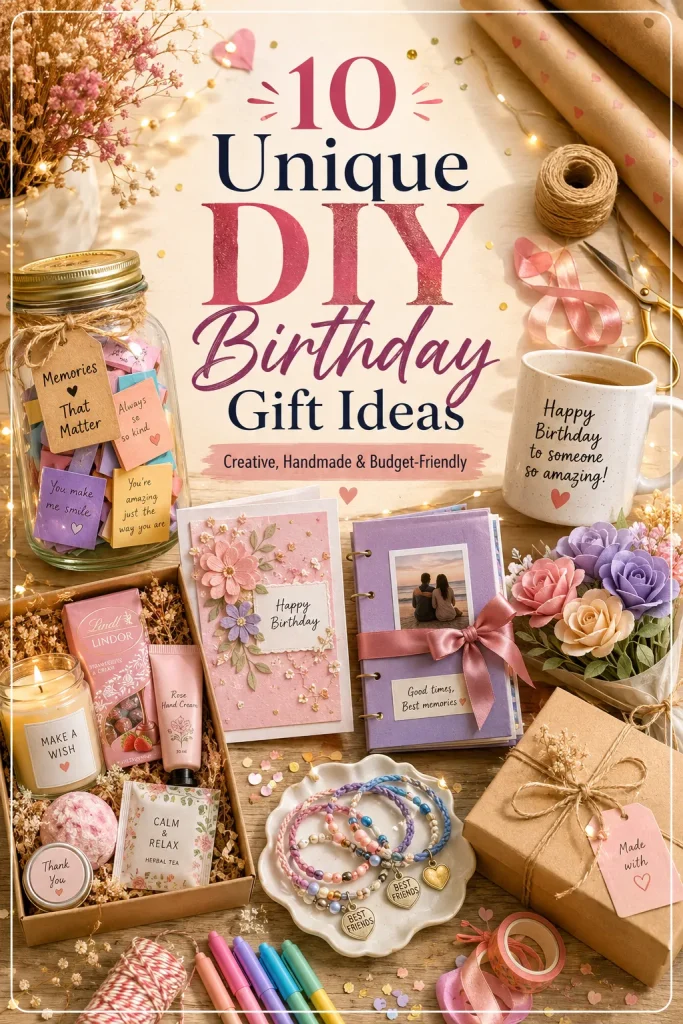
Looking for unique DIY birthday gifts ideas? Discover 10 creative, budget-friendly, and handmade gift projects that will make your loved

Get inspired by the best Pride makeup ideas. From subtle rainbow accents to bold graphic liners, discover 10 stunning looks