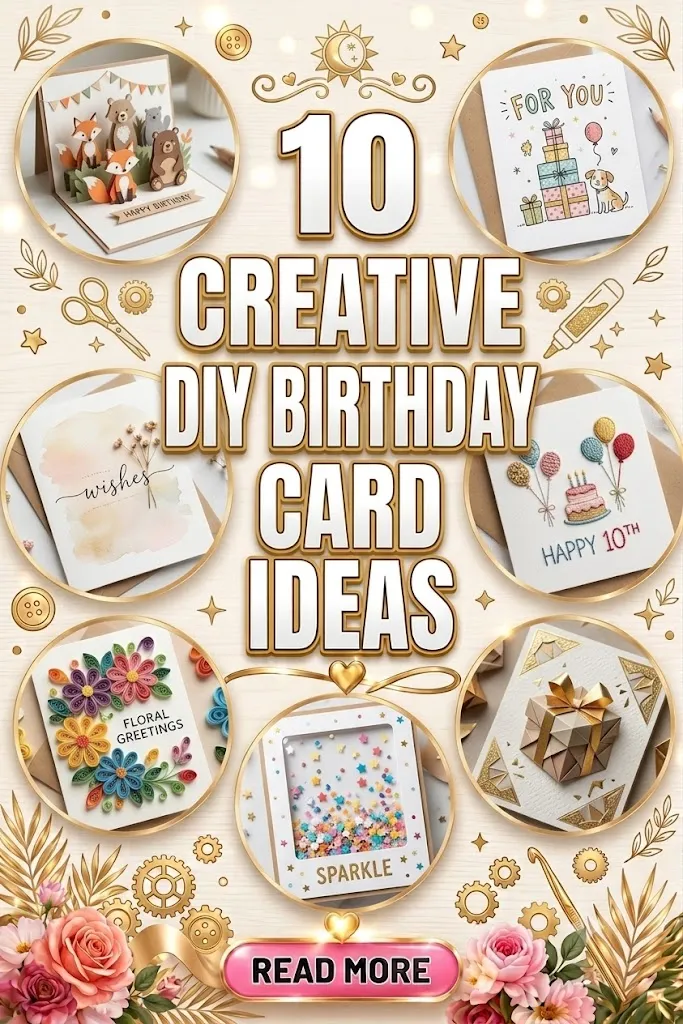
Looking for unique DIY birthday card ideas? Discover 10 beautiful, budget-friendly handmade card designs with step-by-step tips, materials, and expert pro hacks.
diy birthday card ideas, handmade birthday cards, easy card making for beginners, creative DIY greeting cards, personalized birthday card designs, unique paper crafts.
Have you ever stood in the greeting card aisle of a grocery store, staring at a wall of mass-produced paper, only to feel completely underwhelmed? You flip over a card with a generic, uninspired message and a simple glitter design, only to realize it costs upwards of five or six dollars. It feels impersonal, cold, and transactional—hardly the emotional message you want to send to someone you truly care about on their special day.
The biggest dilemma with store-bought greeting cards is that they completely fail to capture the unique bond, shared inside jokes, and genuine love between you and the recipient. In our increasingly digital world, receiving a text message, an e-card, or a commercial paper card can feel like an afterthought. You want to give a gift that stands out, speaks from the heart, and perhaps even becomes a cherished keepsake tucked safely away in a memory box.
The perfect solution is to dive into the rewarding, imaginative world of diy birthday card ideas. Creating a handmade card allows you to custom-tailor the colors, textures, themes, and messages specifically to the birthday person’s unique personality. Whether you consider yourself a seasoned papercraft artist or someone who hasn’t picked up a pair of scissors since elementary school, this comprehensive guide features 10 incredible, foolproof handmade card projects designed to delight your loved ones while keeping your budget perfectly intact.
The Emotional Magic of Paper Crafting: Why Handmade Matters
A handmade card is infinitely more than just a piece of folded cardstock; it is a physical manifestation of your time, effort, and affection. When someone opens a card and realizes you constructed it with your own two hands, their brain registers a deep sense of value and care. Crafting also acts as a brilliant mental health tool for you. The rhythmic processes of cutting, folding, painting, and sketching lower stress levels and allow you to step away from digital screens into a state of creative mindfulness.
To help you choose the perfect creative match for your upcoming birthday celebration, we have organized a quick overview of our top 10 card-making concepts below.
Quick Comparison of Birthday Card Project Features
| Card Project Concept | Time Required | Technical Difficulty | Material Complexity | Best Suited For |
| 1. Watercolor Resist | 20–30 mins | Very Low | Low (Paints & Wax) | Art lovers & chic minimalists |
| 2. Pop-Up Balloon Box | 45 mins | Medium | Medium (Cardstock) | Kids & milestone celebrations |
| 3. Pressed Floral Collage | 15 mins (plus dry) | Low | Low (Real Botanicals) | Nature enthusiasts & grandmas |
| 4. Washi Tape Mosaic | 15 mins | Very Low | Low (Patterned Tapes) | Last-minute crafters & toddlers |
| 5. Embroidered Paper Stitch | 40 mins | Medium | Medium (Thread & Needle) | Texture lovers & craft fans |
| 6. Interactive Shaker Card | 45 mins | High | High (Acetate & Glitter) | Kids, teens & novelty seekers |
| 7. Quilled Paper Filigree | 60 mins | High | Medium (Paper Strips) | Detail-oriented paper artists |
| 8. Calligraphy Photo Polar | 20 mins | Low | Medium (Instant Photo) | Best friends & nostalgic family |
| 9. Distress Ink Blend Stencil | 25 mins | Low | Medium (Blending Brushes) | Vibrant color enthusiasts |
| 10. Minimalist Line Art Face | 15 mins | Very Low | Low (Fine-liner Pens) | Trendy teens & modern adults |
10 Inspiring DIY Birthday Card Ideas to Try Today
Here is our ultimate, deeply detailed breakdown of the absolute best handmade card projects. Discover how each concept works, who it suits best, professional tips for flawless execution, and the unique artistic benefits of creating it.
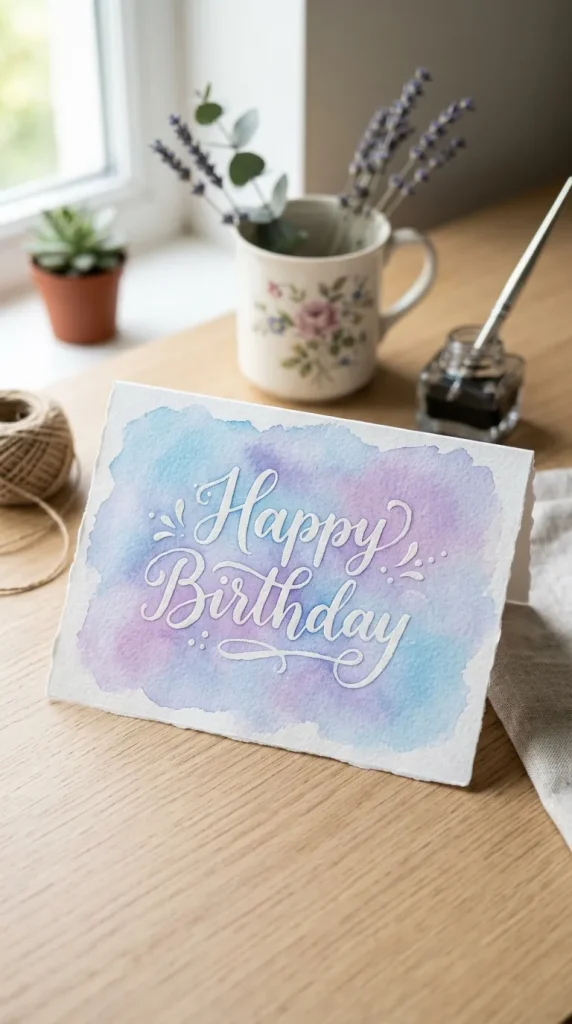
1. The Watercolor Resist Masterpiece
This beautiful technique uses a white wax crayon or a specialized masking fluid to draw clean patterns or write “Happy Birthday” text onto thick watercolor paper. When you wash vibrant, watery watercolor paints over the top, the wax repels the water, forcing your hidden white designs to pop out magically.
- Who It Suits Best: Artistic souls, chic minimalists, and beginners who want to achieve a dreamy, professional mixed-media aesthetic with absolute ease.
- Crafting & Styling Tips: Use heavy, 100% cotton 300gsm watercolor paper so the water doesn’t warp the card. Press hard with your white crayon so the wax layer is solid. Blend analogous colors—like blues, purples, and pinks—on the paper to create a smooth, bleeding sky effect without making the paint look muddy.
- Benefits: It creates a gorgeous, painterly background that looks entirely high-end and luxurious, ensuring no two card backgrounds ever look exactly identical.
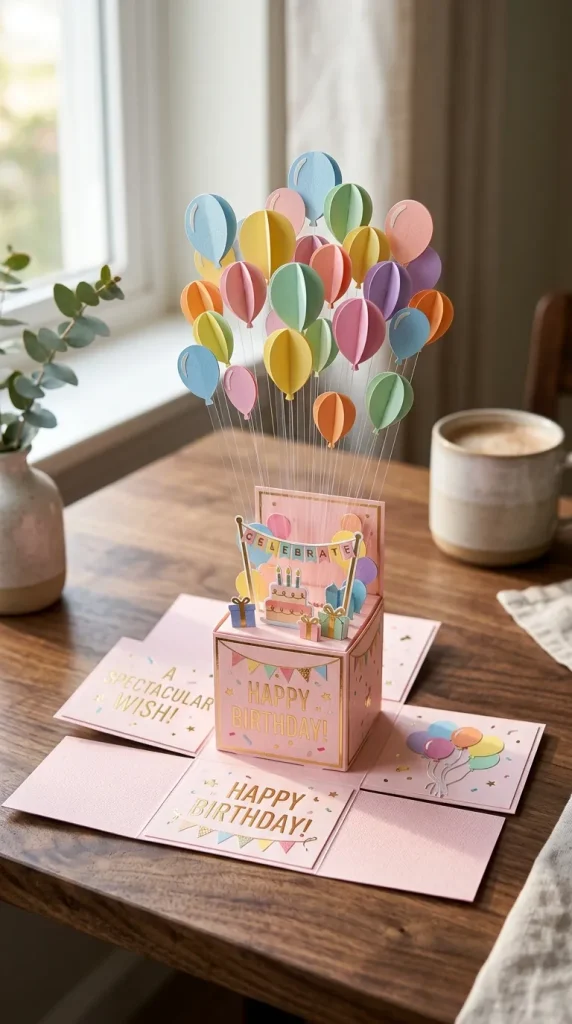
2. The Pop-Up Birthday Balloon Box Card
An architectural marvel made entirely of cleverly scored cardstock layers. When folded flat, it fits perfectly inside a standard envelope. However, the moment the recipient pulls it out, it instantly pops up into a spectacular, three-dimensional decorative box filled with paper balloons floating on thin plastic strips.
- Who It Suits Best: Kids, playful friends, and anyone celebrating a major milestone birthday (like a 18th, 30th, or 50th) who deserves a dramatic, theatrical greeting.
- Crafting & Styling Tips: Use a heavy 110lb cardstock for the box structure so it stands upright firmly without sagging. Use clear acetate strips recycled from old toy packaging to suspend your paper balloons or stars inside the box, creating a beautiful illusion of floating mid-air.
- Benefits: It functions double duty as both a highly memorable greeting card and a festive freestanding tabletop party decoration that the recipient can proudly display on their desk or mantelpiece for weeks.
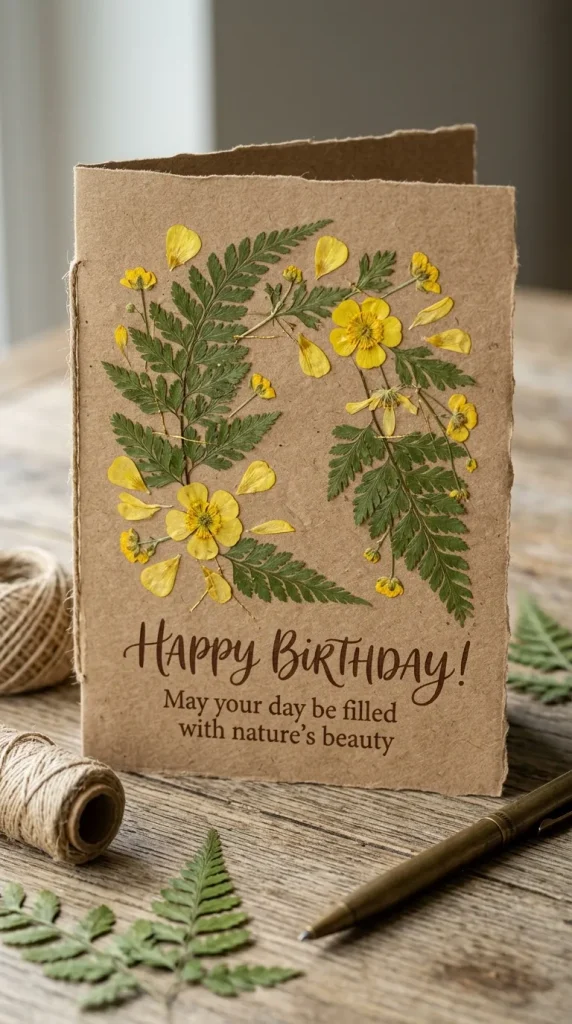
3. The Pressed Botanical Herbarium Frame Card
This delicate, organic card features real preserved leaves, colorful petals, or whole dried wildflowers arranged gracefully on a clean piece of kraft paper or heavy cream cardstock, mimicking a classic museum botanical specimen.
- Who It Suits Best: Nature lovers, avid gardeners, grandmas, and fans of soft cottagecore or rustic barn design aesthetics.
- Crafting & Styling Tips: Collect thin flowers like pansies, daisies, or clover leaves. Press them flat inside a heavy book lined with parchment paper for a week before crafting. Use a microscopic dot of clear glue applied with a toothpick to secure the delicate petals onto the card base, and finish with a thin border of hand-drawn ink lines.
- Benefits: It is highly cost-effective, environmentally friendly, and transforms natural sentimental outdoor elements into a piece of fine, timeless keepsake art.
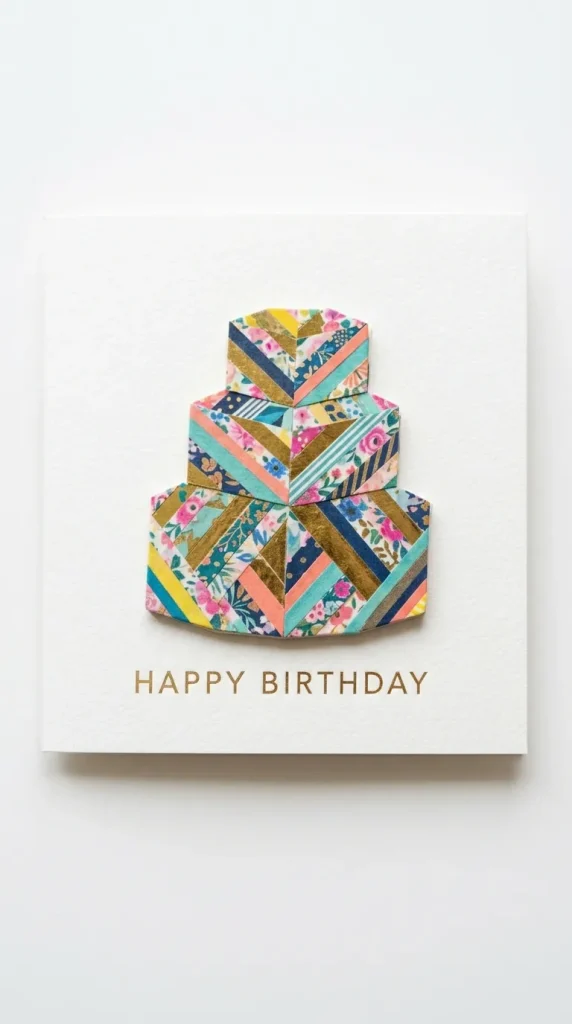
4. The Geometric Washi Tape Mosaic Card
Washi tape is a Japanese decorative masking tape that comes in thousands of vibrant patterns, glitters, and color palettes. For this card, you lay down strips of tape across a scrap piece of paper, cut that paper into clean geometric shapes (like a birthday cake, candles, or abstract modern triangles), and mount them onto a white card using 3D foam squares.
- Who It Suits Best: Last-minute crafters who need a stunning card in less than fifteen minutes, and parents looking for an easy, completely mess-free craft activity to do with toddlers.
- Crafting & Styling Tips: Coordinate your tape styles by picking a set theme, such as metallics, pastels, or bold floral patterns. Use a pair of ultra-sharp non-stick scissors to ensure the sticky adhesive backing doesn’t warp or fray your geometric cuts.
- Benefits: It is incredibly clean, fast, requires absolutely zero dry time, and yields a remarkably sharp, colorful, and contemporary graphic design layout.
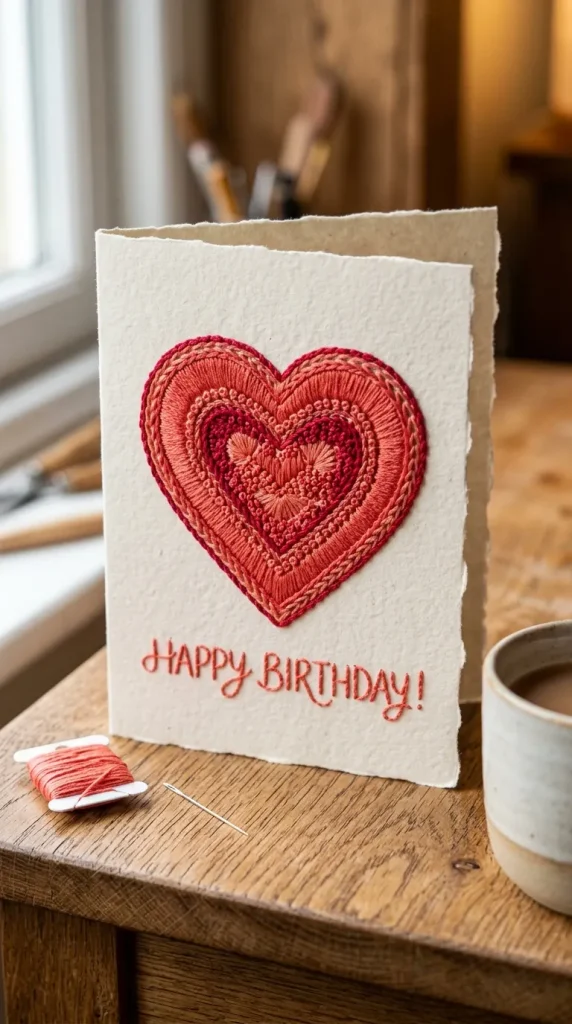
5. The Hand-Embroidered Paper Stitched Greeting
This textile-infused concept bridges the gap between sewing and paper crafts. By lightly tracing a simple design (like a heart, a balloon, or typography) onto a card, piercing holes along the path with a needle, and threading colorful cotton embroidery floss through the holes, you create a beautiful raised, tactile stitched design.
- Who It Suits Best: Fans of sewing, knitting, or textile arts, and anyone who appreciates highly detailed, high-touch handmade crafts.
- Crafting & Styling Tips: Lay your cardstock over a soft foam mousepad or a thick towel before poking your guide holes with a pushpin; this prevents the paper from wrinkling or tearing. Use a smooth, satin embroidery thread (all six strands for a chunky folk look, or three strands for a delicate minimalist line).
- Benefits: The thread introduces a wonderful, cozy texture and dimensionality that simply cannot be replicated by pens or paints, turning the card into a tactile experience.
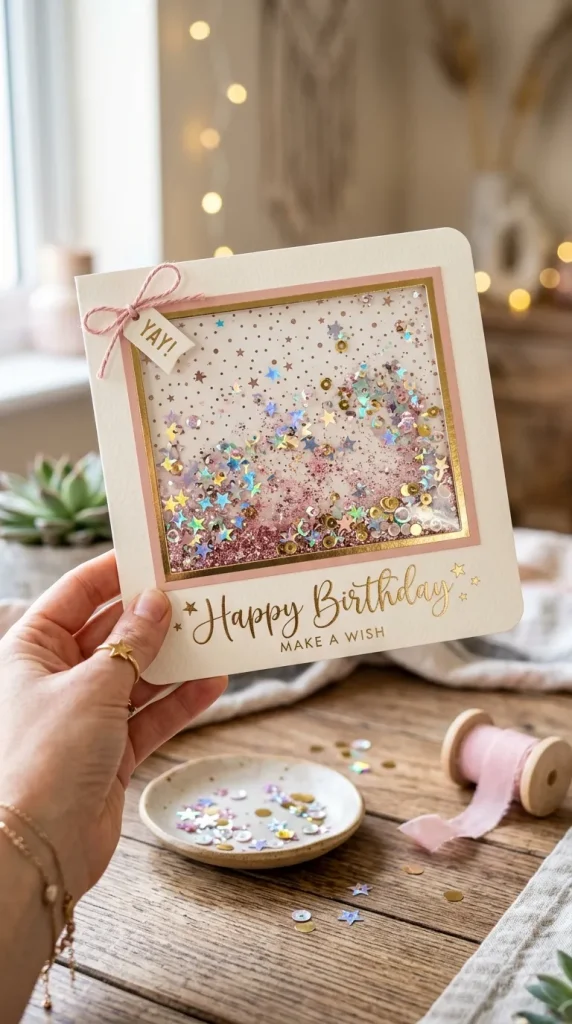
6. The Interactive Shaker Sequins Card
A highly entertaining interactive card featuring a clear plastic windows window on the front panel, filled completely with loose sequins, glitter, beads, and mini confetti. When the recipient tilts or shakes the card, the contents dance and shimmer playfully inside.
- Who It Suits Best: Children, teenagers, and anyone who loves high-energy, whimsical, and fun modern novelties.
- Crafting & Styling Tips: Cut a clean frame window into your front card layer and adhere a sheet of clear acetate plastic behind it. Use thick, double-sided foam tape around the window edge to build a walled chamber for your confetti. Crucial tip: Ensure there are absolutely zero gaps in your foam tape wall, otherwise your fine glitter will leak out!
- Benefits: It provides a delightful, sensory experience that brings an immediate smile to the recipient’s face, making it stand out completely from traditional flat cards.
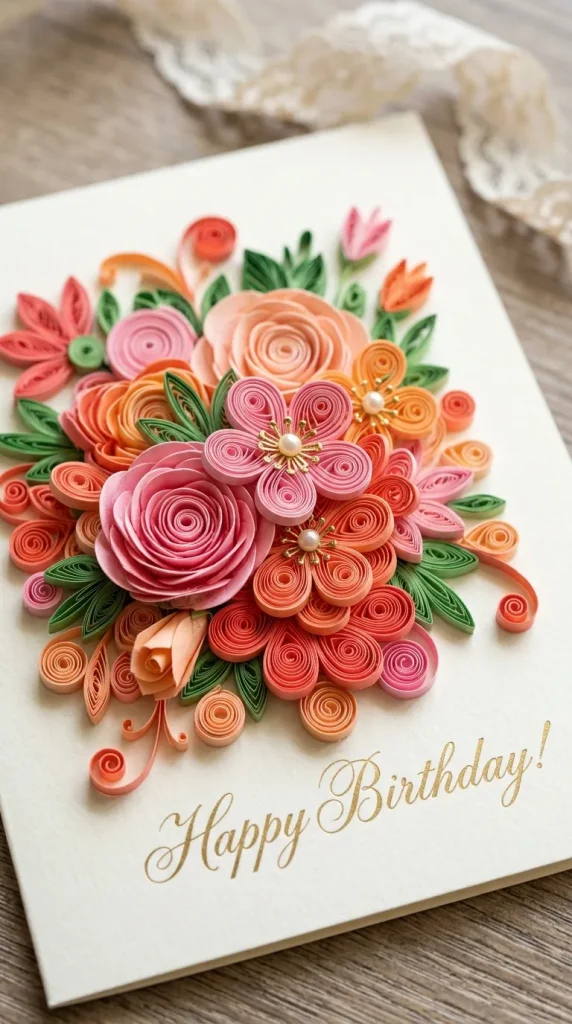
7. The Quilled Paper Filigree Scroll Card
Paper quilling is an elegant art form that involves rolling thin strips of colorful paper around a small tool, shaping the coils into intricate designs (like flowers, scrolls, or birthday numbers), and gluing them vertically on edge to create a gorgeous filigree mosaic.
- Who It Suits Best: Patient, detail-oriented crafters, and paper artists looking to expand their skill set into fine sculptural design.
- Crafting & Styling Tips: Buy pre-cut 3mm quilling paper strips to keep your work looking perfectly uniform. Use a fine-tip glue applicator bottle or a toothpick dipped in clear PVA glue to secure the paper edges down neatly without leaving ugly, shiny glue splotches on your background paper.
- Benefits: It looks astonishingly complex, intricate, and high-end, frequently evoking gasps of awe from recipients who can scarcely believe it was made by hand.
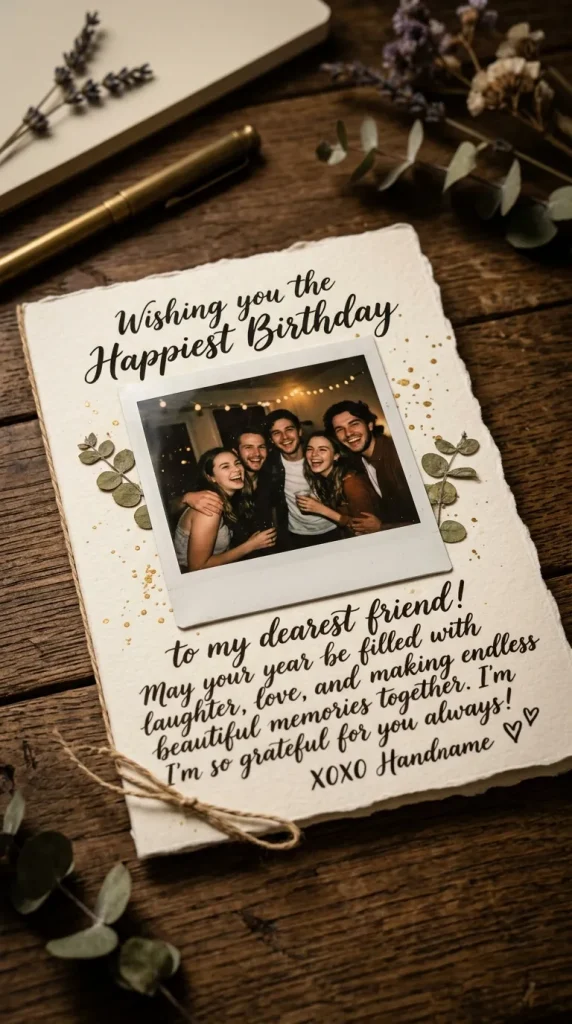
8. The Calligraphy Photo Polaroid Card
A highly nostalgic, sentimental design where you mount a real instant Fujifilm Instax film photo or a vintage-printed square snapshot of a beautiful memory directly onto the center of a minimal card base, framed by elegant, hand-lettered brush calligraphy.
- Who It Suits Best: Best friends, romantic partners, and close family members who share a treasure trove of sentimental travel memories or childhood photos.
- Crafting & Styling Tips: Use black archival ink or a metallic gold brush marker to write your birthday wishes underneath or around the photo frame. Use small decorative paper photo corners to mount the picture so the recipient can easily slide the photo out and save it if they choose.
- Benefits: It serves double duty as a deeply moving personal greeting card and a beautiful physical photo print that can be framed or pinned to a bedroom mood board.
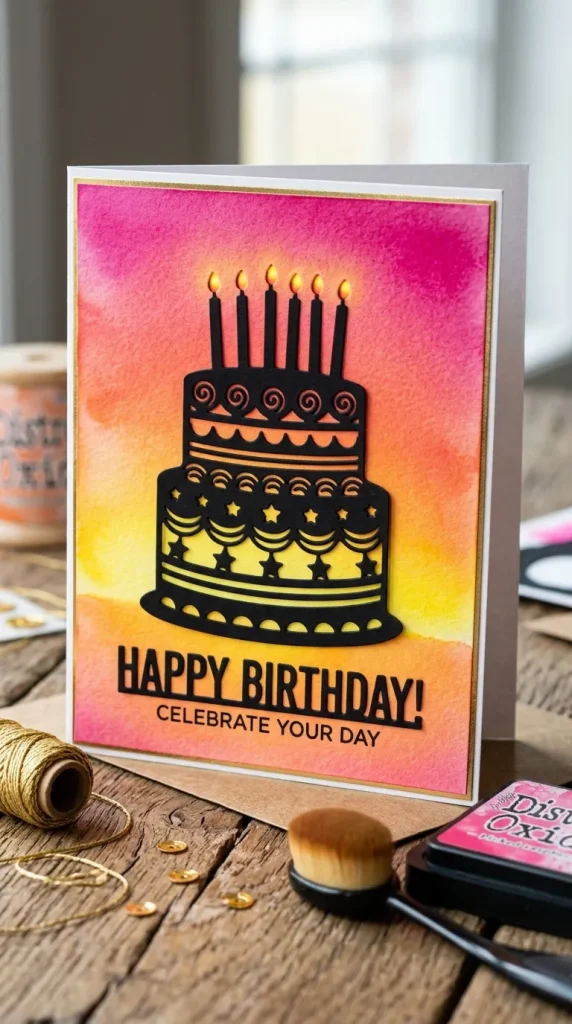
9. The Distress Ink Blend Silhouette Card
This technique relies on blending professional crafting dye inks (like Distress Inks) across a smooth white cardstock using soft foam blending brushes to create a seamless, glowing, dramatic gradient background. A sharp solid black paper cutout or stamped image is mounted over top to form a stark silhouette.
- Who It Suits Best: Stamp collectors, blend enthusiasts, and crafters who love experimenting with intense, glowing, and atmospheric color compositions.
- Crafting & Styling Tips: Use an ultra-smooth cardstock (like Bristol Smooth paper) to achieve a flawless, airbrushed gradient transition without streaks. Blend from light to dark, using circular motions with your blending tool, and finish by splashing a few tiny drops of clean water to create beautiful bleached oxidization stars.
- Benefits: It yields an incredibly vibrant, deep, and luminous backlit optical effect that makes the simple silhouette imagery look beautifully cinematic.
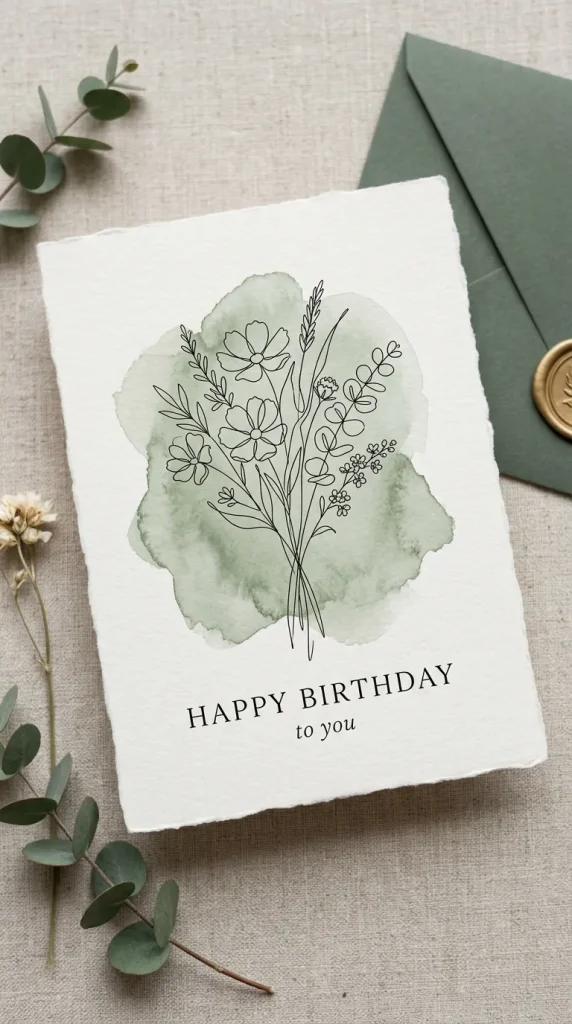
10. The Minimalist Fine-Line Art Portrait Card
A super-trendy, modern concept inspired by high-fashion line drawings. Using a single, continuous ultra-fine black ink line, you sketch the minimalist silhouette of a face, a birthday cake, or a simple bouquet of flowers over a soft, abstract blob of pastel background paint.
- Who It Suits Best: Trendy teenagers, artistic college students, and anyone who appreciates a sophisticated, modern, and high-fashion boutique aesthetic.
- Crafting & Styling Tips: Paint a loose, watery, imperfect circle or oval of soft pastel acrylic or watercolor paint onto the card base first and let it dry. Then, use a high-quality archival pigment fine-liner pen (like a Sakura Pigma Micron 05) to draw your continuous fine-line illustration directly over the dry paint blob.
- Benefits: It requires very minimal materials, takes less than fifteen minutes to construct, and looks incredibly modern, artistic, and stylishly understated.
Pro Tips for Professional-Looking Handmade Cards
To elevate your DIY greeting cards from looking like a simple school art project to a polished, premium piece of stationary boutique art, implement these four essential professional guidelines:
1. Use a Bone Folder for Crisp Creases: Never fold your cardstock base using just your bare thumbs. Running a plastic or bone folding tool firmly along your score lines creates clean, sharp, flat edges that prevent the paper fibers from cracking or warping.
2. Embrace the Power of Foam Mounting Tape: Flat cards can sometimes look boring. Using small, double-sided 3D foam squares behind your main design elements, text strips, or paper cutouts lifts them off the card base, creating beautiful, subtle drop shadows that add instant professional depth.
3. Invest in High-Quality Cardstock: Avoid flimsy, lightweight construction paper which warps easily when glued or painted. Always choose a sturdy heavy-weight base cardstock (80lb to 110lb cover weight) to ensure your card feels substantial and stands upright on a table without buckling under weight.
4. Never Forget the Envelope: An incredible handmade card deserves a beautiful introduction. Line the inside flap of your envelope with a piece of matching patterned scrapbooking paper, or stamp a small coordinating motif on the outer front corner of the envelope to tie the whole theme together beautifully.
Common Card-Making Mistakes to Avoid
- Using Too Much Liquid Glue: Drenching your paper in standard school liquid glue will cause the paper fibers to warp, ripple, bubble, and look incredibly messy. Use dry double-sided adhesive runner tape, glue dots, or a very thin layer of professional paper craft PVA glue instead.
- Writing Text Without a Guide: Rushing into writing your final “Happy Birthday” greeting freehand with a permanent marker often leads to crooked text, spacing errors, or spelling mistakes. Always sketch your text lines lightly with a pencil first, check your spacing, trace over with your ink pen, and erase the pencil lines once the ink is dry.
- Smudging Wet Ink: It is heartbreaking to finish a gorgeous card design only to accidentally drag your hand across wet pen ink or stamped text. If you are left-handed, work from right to left, and always give your gel pens or stamps a solid minute to dry completely before touching the panel.
Conclusion
Exploring creative diy birthday card ideas is one of the most rewarding, thoughtful ways to celebrate the people who mean the most to you. From the magical hidden messages of watercolor resist cards to the interactive playfulness of a sequin-filled shaker card, making your own cards allows you to pour your genuine love, shared memories, and unique style into a beautiful keepsake that will never be thrown away.
The hardest part of any creative project is simply getting started. Take a look at your calendar, find the next upcoming birthday on your list, select one simple card concept from our guide that matches your materials, and discover the unmatched joy of gifting something completely handmade.
Which DIY birthday card idea are you excited to craft first? Let us know your thoughts in the comments section below, and share your beautiful completed card designs with our community to spread creative inspiration!
Frequently Asked Questions (FAQs)
What standard card sizes should I use for DIY card making?
The most popular standard sizes for handmade cards are A2 (4.25 x 5.5 inches) and A7 (5 x 7 inches). Choosing these standard scales ensures that you can easily find pre-made, matching envelopes at any local craft store or stationery shop without needing to make your own from scratch.
How do I stop my watercolor cards from warping out of shape?
The secret is to use thick, dedicated watercolor paper (at least 140lb / 300gsm) and secure the edges of the sheet down to your table using blue painter’s tape before you begin painting. Leave the card taped down flat until the paint is entirely dry, which coaxes the paper fibers to dry flat.
Can I make these DIY cards using a regular printer?
While you can certainly print out digital clip art or text templates to cut and glue onto your card bases, incorporating tactile elements like raised 3D foam tape, real pressed flowers, glossy embossing powders, or hand-painted ink backgrounds is what truly gives handmade cards their signature luxury feel.
What are the best essential tools for a beginner card maker?
If you want to build a basic starter kit, invest in four simple things: a high-quality paper trimmer for straight cuts, a bone folder for crisp creases, a roll of double-sided adhesive runner tape, and a pack of thick white cardstock sheets. These tools will allow you to make almost any card base flawlessly.